GETTING STARTED
1. Turn off your NINTENDO GAMECUBE console (power button OFF).
2. Insert the NINTENDO GAMECUBE game disc into the NINTENDO GAMECUBE.
3. Close the lid.
4. Check that a NINTENDO GAMECUBE controller is connected to port of controller 1.
5. If you want to save the game, insert a Memory Card (memory card) NINTENDO GAMECUBE into the console.
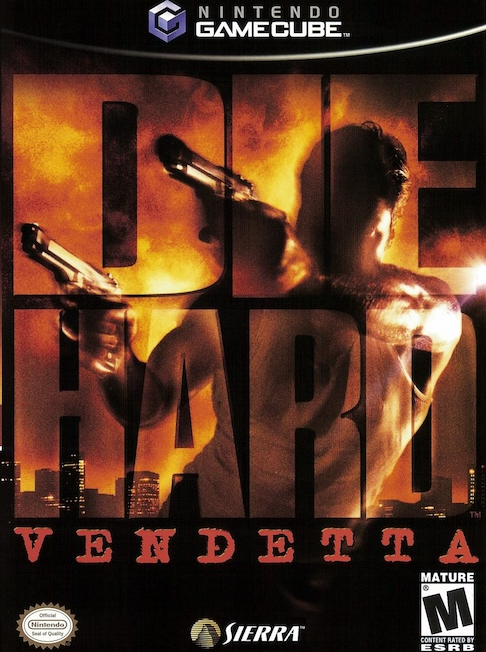
6. Turn on the console (power button ON) and you will see the Die Hard Vendetta title screen.
CONTROLLER NEUTRAL POSITION RESET
If the L or R buttons are pressed or if the directional Stick is not in central position when the console is powered on, these positions will be considered as the new neutral reference positions, biasing controls during a game.
To reset the controller, release all buttons and sticks to allow them to return to neutral position, then hold simultaneously X, Y and START/PAUSE for 3 seconds.
INTRODUCTION
WELCOME TO DIE HARD VENDETTA
Get ready to play as John McClane, a Century City police officer. In this 3D action game, you will explore the entire city, from a museum to a tuna processing plant. You must find Lucy, John McClane's daughter.
MENU AND INTERFACE
To navigate the menus, use the + pad or the directional Stick to select an option. Press the A Button to confirm your selection and press the B Button to return to the previous menu.
MAIN MENU
The following options are available in the game's main menu:
•
New game: start a new game of Die Hard Vendetta starting with the first chapter.
•
Select a chapter: play any of the chapters you have unlocked in the game.
•
Load: resume the game at the beginning of a chapter in which you have saved a game.
•
Save: save the current game.
•
Options: modify audio and video settings.
•
Credits: display the game credits.
NEW GAME
When you start a new game, you will see a series of menus allowing you to choose your game preferences.
DIFFICULTY
The first menu is used to choose the difficulty level. Three levels of difficulty are offered in Die Hard Vendetta:
The difficulty level mainly affects your enemies in the game, who will be more or less precise or react more or less quickly to external elements, such as footsteps, gunshots, etc. At the highest difficulty level, some game aids are disabled.
GAME OPTIONS
You can modify the game options according to your preferences.
•
Controller configuration: Choose one of the predefined controller configurations.
•
Reticle: use left and right on the controller + to choose the reticle to use.
•
McClane's appearance: use left and right on the controller + to choose a right-handed or left-handed John McClane.
•
Controller options: fine-tune the controls.
•
Play: to access the Chapter Selection menu.
CONTROLLER OPTIONS
•
Vibration: activates or deactivates controller vibrations.
•
Rotation speed: adjusts the speed at which you turn.
•
Sensitivity: adjusts the sensitivity of the directional stick.
•
Inverted view: activate inverted view. In this case, pushing the stick up makes the gaze go down.
•
Auto-center: when this option is activated, John's reticle automatically moves to the closest target. The automatic aiming 'window' becomes smaller and smaller as you increase the difficulty level. In Die Hard (easy) mode, it encompasses the entire screen.
•
Center view: automatically re-centers the point of view when you move.
Once you have modified the game options according to your preferences, you can go to the Chapter Selection menu.
CHAPTER SELECTION
This menu presents all the chapters you have access to. When you start a new game, you only have access to training and the first chapter.
When you progress in the game and complete a chapter, the next chapter is unlocked and you will see it in this menu. You can scroll through the list of chapters you have access to by using the left and right directional stick.
If you select a chapter you have already completed, press Button X to display your statistics for that chapter. To start, select the chapter you want to play and press Button A. You can return to the previous menu by pressing Button B.
LOAD
NOTE: A NINTENDO GAMECUBE Memory Card is required to load your data.
NOTE: Never insert or remove a NINTENDO GAMECUBE Memory Card while loading files.
Select the Load option from the main menu. You can choose Slot A or Slot B to load the saved game. Highlight your selection and press Button A.
Use Up or Down on the directional stick to choose one of the 8 available save slots, corresponding to the part to load, and press Button A to confirm. Select "Yes" to confirm your choice or "No" to choose another save. You can return to the previous screen by pressing Button B.
SAVE
NOTE: A NINTENDO GAMECUBE Memory Card is required to save your data.
NOTE: Never insert or remove a NINTENDO GAMECUBE Memory Card while saving files.
Select Save from the main menu. You can choose Slot A or B to save the game. Highlight your selection and press Button A.
NOTE: If you have not yet used your NINTENDO GAMEC
.png)

.png)



_1.png)