GETTING STARTED
1. Set up your PlayStation®2 computer entertainment system according to the instructions in its Instruction Manual.
2. Make sure the MAIN POWER switch (located on the back of the console) is turned on.
3. Press the standby/RESET button. When the power indicator lights up, press the OPEN button and the disc tray will open.
4. Place the Rayman Arena disc on the disc tray with the label side facing up. Press the OPEN button again and the disc tray will close.
5. Attach game controllers and other peripherals, as appropriate.
6. Follow on-screen instructions and refer to this manual for information on using the software.
Multitap Use
If you want to play with more than 2 players, you will have to use a Multitap (for PlayStation 2). Insert the multitap into controller port 1 only, then insert the controllers into controller port 1-A, 1-B, 1-C and 1-D of the multitap.
When using a multitap controller, port 2 is deactivated. Only the controllers connected to the multitap will be used.
Caution
You are advised against inserting or removing peripherals once the power is switched on.
NAVIGATING THROUGH THE MENUS
To navigate through the RAYMAN Arena menus and select slices, use the left analog stick*. Your selection will be highlighted. To confirm your selection, keep the left analog stick pressed in the direction you have selected and press the X button.
To move from one menu to another, press the R1 button to go to the right, and the L1 button to go to the left. To go back, press the Δ button.
*The left analog stick will be automatically activated (mode indicator: RED). The digital pad is not supported in the game.
MAIN MENU
Select NEW GAME if you do not have any previous files stored or if you want to create a new one. You subsequently enter the file creation page.
Select LOAD GAME if you want to load and play a previously saved file.
Select OPTIONS if you want to configure the game settings: video, sound, controls, and language.
NEW GAME
Select the New Game slice and confirm with the X button. You will be asked if you want to create a new game. If you choose YES you will access the file creation menu where you can assign a name to the file.
Use the left analog stick to compose the name. Validate a letter by pressing the X button. Once you have entered the name, highlight OK and press the X button to confirm and proceed to the game menu.
Press the Δ button to delete a letter or to go back to the Main Menu.
Whenever progress is made in the game, you will be prompted to save to your file.
LOAD A GAME
You can only load and save game data if the memory card (8MB) (for PlayStation 2) is inserted into MEMORY CARD slot 1.
Select the Load Game Slice and confirm by pressing the X button. You subsequently enter a window with the list of saved games.
Select the game you want to load with the left analog stick and validate by pressing the X button before proceeding to the Game Menu (or press the Δ button to go back to Main Menu).
OPTION MENU
Video Settings
You can decide if you want to be in wide-screen views or not. Select the appropriate setting with the left analog stick. Your selection appears in green. Press the X button to validate.
Sound Settings
MUSIC/SOUND FX
In each menu, use the left analog stick to select ON/OFF to activate/deactivate the music or sound FXs. You can set the volume you want for each between 0 and 9. Validate by pressing the X button.
MONO/STEREO
Use the left analog stick to select MONO or STEREO sound. Validate by pressing the X button.
LOADING/SAVING SETTINGS
Saving settings
Once you have selected the options of your choice, you can save these settings to your memory card. Choose SAVE from the SAVE/LOAD settings window.
Loading settings
Your settings can also be loaded from a memory card after start-up by choosing the LOAD option from the SAVE/LOAD settings menu.
You can only load and save data if the memory card is inserted into MEMORY CARD slot 1, or MEMORY CARD slot 1-A when using multitap.
Multitap (for PlayStation®2)
•
multitap connector (for PlayStation®2)
ARENA RULES
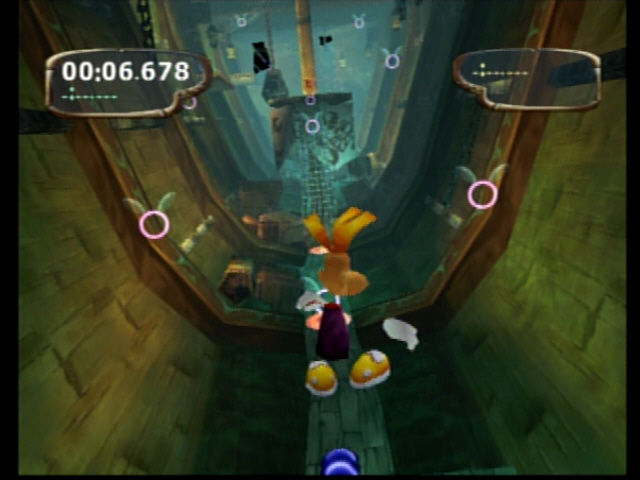
The game is divided into 4 zones, all composed of 3 race levels and 3 battle levels.
For each level, you will be able to choose between various game modes:
•
4 game modes for the Race
•
3 game modes for the Battle
You will also have access to a bonus zone with additional levels. These levels will




.png)

.png)


.png)