GETTING STARTED
*Note: Illustration may not match all PlayStation 2 console types. For owners of SCPH-70000 series PlayStation 2 systems, refer to the setup instructions supplied with your system. Set up your PlayStation®2 computer entertainment system according to the instructions in its Instruction Manual. Make sure the MAIN POWER switch (located on the back of the console) is turned ON.
Press the RESET button. When the power indicator lights up, press the OPEN button and the disc tray will open. Place the TRAPT™ disc on the disc tray with the label side facing up. Press the OPEN button again and the disc tray will close.
Attach game controllers and other peripherals, as appropriate. Follow on-screen instructions and refer to this manual for information on using the software.
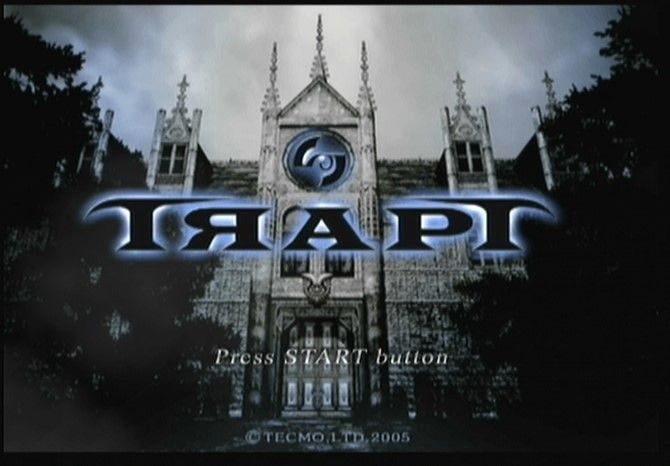
Place the TRAPT™ game disc into the disc tray of your PlayStation®2 system with the label facing up. The title screen will be displayed shortly thereafter.
Press the START button to display the menu. Use the left and right directions on the left analog stick (or the directional buttons) to select an item and press the button to enter your selection.
New Game
Select this option to start a game from the beginning. Select if playing for the first time.
Load Game
Select to load and continue playing a previously saved game. Please refer to the "Load/Save" section for more details on saved data.
MAIN MENU
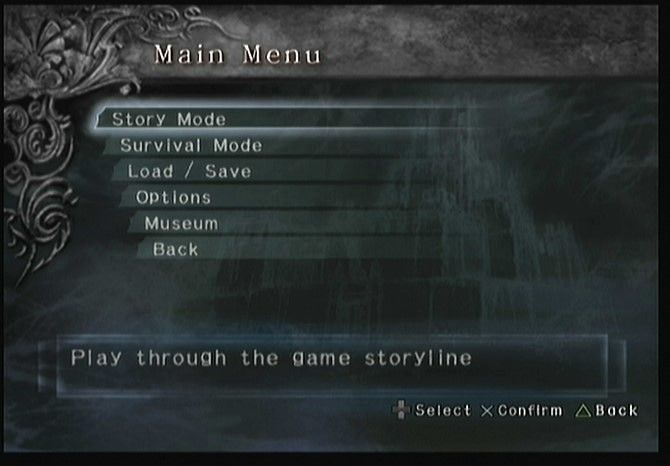
The main menu will be displayed after the title screen. Use the up and down directions on the left analog stick (or the directional button) to select an item and press the button to enter your selection.
Story Mode
This is the main mode where you can play through the story of "TRAPT."
Survival Mode
Use a combination of 3 traps (ceiling, wall, and floor) to defeat all enemies. A limit of 9 traps can be used.
Load/Save
This is where you can Load or Save game data.
Option
Change controller configurations and individual settings.
Museum
View information and movies obtained in-game here.
Return to Title Screen
Leave the main menu and return to the title screen.
STARTING THE GAME
OPTIONS
Select "Options" from the main menu to display the "Options" screen. Individual game settings can be changed here.
If altered game settings are saved under "Save Game Data", and selected and loaded when Play Next commences, play will resume with the new settings.
Game Settings
•
Sound Mode: Change between Stereo and Mono sound.
•
Vibration: Turn the vibration feature ON/OFF.
•
Trap Hit Camera: Select either ON/OFF to have the camera zoom in when a trap springs open.
•
BGM volume: Adjust BGM volume settings.
•
SE volume: Adjust SE volume settings.
•
Exit: Exit game settings and return to the "Options" screen.
Controller Configuration
Select between Type A and Type B controller configurations for use in Trap Battles.
TRAP BATTLE - BEGINNER LEVEL
Princess Allura is unable to use swords or cast magic to defeat enemy intruders directly. She is limited to using traps. However, depending on your ability to strategically utilize the traps, they can be more effective weapons than swords or magic. Your goal is to set a trap, lure an enemy, and perfectly time the activation of the trap to seize the intruder. You may be unsuccessful at first, but setting effective traps comes with practice.
You can preview the stage map, assess your enemy's abilities, and select the traps you wish to use before a Trap Battle begins.
Trap Element
Equip Trap
Select the traps to be used in the upcoming mission. A maximum of 3 of each of the following traps, ceiling, wall, and floor, may be selected. Should you have traps already in your possession, you can choose here which traps you wish to take into battle.
•
Select a trap you wish to use from the window on the right.
•
Select a trap that you wish to replace from the list in your possession displayed in the window on the left.
•
Repeat steps 1 and 2 until fully equipped. Press the button to finish and exit from the "Equip Trap" screen.
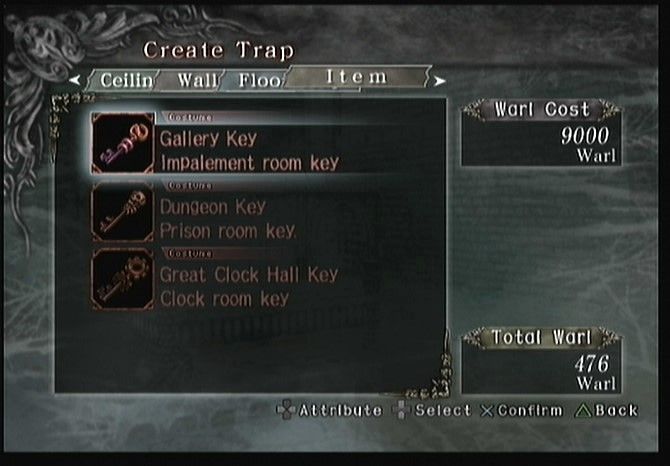
Create Trap
Use Warl gained from battles to Create New Traps.
Intermission
"Intermission" is a section in the game that allows you to prepare for the upcoming mission. The game proceeds as follows: Intermission > Trap Battle > Intermission and so on.
Information
•
Player data: View the player's present condition here.
•
Enemy data: View data on the enemy that will appear in the upcoming mission. View detailed data on an enemy by selecting their name from the displayed list.
•
Map Information: View a map for the upcoming mission. Use the directional button to select a particular room and view its devices by pressing the button.
Side Story
Side Story mode allows you to play through many short stories which differ from the main game's scenario. The stories progress using the same timeline as Story mode and enhance your experience of "TRAPT."
Save
Save your game progress up to this point.
Return to Main Menu
Return to the main menu.
Mission Start
Finish the Intermission and begin a Trap Battle.
.png)

.png)
