GETTING STARTED
Set up your PlayStation®2 computer entertainment system according to its Instruction Manual. Ensure the MAIN POWER switch on the back of the console is turned on.
Press the standby/RESET button. When the power indicator lights up, press the open button to open the disc tray. Place the Project Eden™ disc on the disc tray with the label side facing up. Press the open button again to close the disc tray.
Attach game controllers and other peripherals as appropriate. Follow on-screen instructions and refer to this manual for information on using the software.
Initially, a short introductory sequence will play. After the intro, the main menu will appear.
MAIN MENU
The following options are available:
•
NEW GAME: Select to commence a new single-player game.
•
LOAD GAME: Select to display a list of previously Saved Games. Select the game you wish to load, and the game will restart from that save point.
•
SELECT LEVEL: Select to display a list of unlocked levels that can be played at any time.
•
START: Select to display START MENU (Single player).
•
ARENAS: Select to display multiplayer ARENAS MENU.
•
CONFIGURE: Select to display CONFIGURATION MENU.
•
BACK: Returns you to the MAIN MENU.
MULTIPLAYER GAMES (ARENAS)
DEATHMATCH
Before a game starts, a CHARACTER SELECTION screen is displayed. You can keep the automatic selection or choose another character.
Other players can join by pressing their START button. The screen will split to show a separate CHARACTER SELECTION screen for that player. The game starts when all players have selected START GAME to continue.
CO-OPERATIVE
Players can join after the game starts by pressing the START button on a free pad. The screen will split, and they will be assigned a free character automatically.
If a Multitap (for PlayStation®2) (sold separately) is plugged into either controller port, up to three additional players may join the original Single player game.
Any player may quit their game by pressing the Start button and exiting through the SYSTEM MENU. Refer to the SYSTEM MENU text for a full description.
CONFIGURATION MENU
Within this Menu, you can configure the following settings:
CONTROLS
Selecting this option allows you to configure up to eight user profiles. You can also name each profile, which will be adopted as your game name in Deathmatch mode.
Once reconfiguration is complete, press the Button to confirm and return to the CONFIGURATION MENU. You will then be prompted to save your configuration; follow the on-screen prompts.
AUDIO/VISUAL
Selecting this option allows configuration of your Audio/Visual settings if you wish to amend the default settings. The following options are available:
•
Aspect Ratio: Change the display window shape.
•
Split: Select the method of splitting the screen in 2-player mode, for example, horizontal or Vertical (Default). Note that 3 players or above will result in the screen being automatically quartered regardless of this setting.
•
Screen Offset and Screen Offset Y: Allows you to adjust the horizontal and vertical display of your picture so that the display may be centered correctly on your screen.
MENU CONTROLS
Navigate all front-end Menus using the following controls:
•
Directional buttons: Use to move up and down menus and move sliders left and right.
•
button: Press to make selections.
•
button: Press to return to previous screens.
PLAYING THE GAME
SINGLE PLAYER
Once the game begins, you will receive your first audible mission briefing from Control. Listen carefully. Mission briefings are also displayed as text on-screen.
Within the single-player game, you can switch between all four characters.
MULTIPLAYER CO-OPERATIVE
When starting a multiplayer game, character selection occurs on the CHARACTER SELECTION screen. You will only be able to switch between characters in-game while they are not being used by another player.
MULTIPLAYER DEATHMATCH
When joining or starting a Deathmatch game, the same principles apply to character selection as above. However, no character switching is available in this mode.
DATA LOG
Accessing the data log displays the following information:
•
Objectives: Select to display current mission objectives. Completed tasks will have a tick, cancelled tasks a cross, and uncompleted tasks have no icon.
•
Interviews: This option allows you to review any previously carried out witness statements and interviews.
•
Mail: All communications with Control are stored here.
•
Information: Select this option for on-screen help.
RESOURCE MENU
Activate the Resource Menu to carry out a number of actions:
•
Select an item from inventory, including the activation of the Rover, Flycam, and Sentry Gun.
•
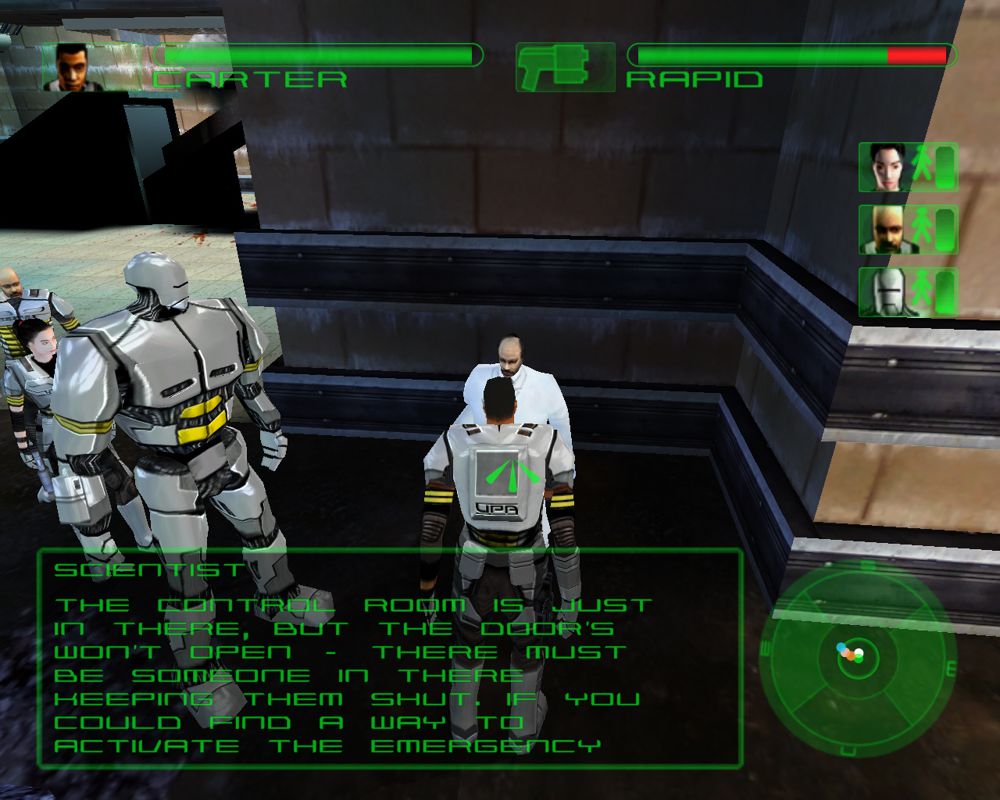
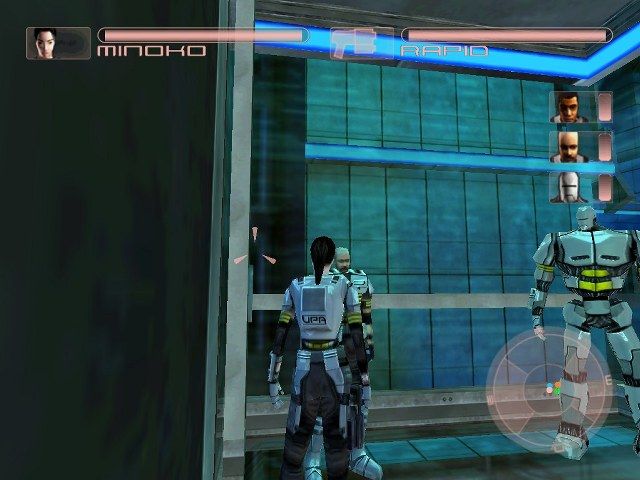
Give the 'Follow Me' order to whichever team members are within range. For example, if all three other UPA members are in range and you wish for all of them to follow you, simply select 'Follow Me'. If only certain members are required, select their individual icon. In either case, any team member who receives the 'Follow Me' order will display an icon in their status bar. To give the 'follow me' order to all members within range during standard gameplay, use the L2 button.
•
Select weapon and weapon mode. See weapon descriptions.
•
You may also select an alternative character by selecting their icon within the status bar.
Items that are collectable will be distinguishable by the appearance of a border around them. Placing the action cursor over the item and pressing the R1 button will pick it up and place .png)

.png)