The Adventure Begins
Insert your Metroid Prime Game Disc in the Nintendo GameCube and close the Disc Cover, then turn on the POWER Button. When the title screen appears, press start to continue to the Main Menu. Getting Started
Before playing, you must first create a Metroid Prime save file. You need to have a Memory Card inserted in slot A with at least blocks of free space on it in order to create a file for Metroid Prime. Please refer to the Nintendo GameCube instruction booklet (pages 18-20) for instructions on how to format, copy, and erase Memory Card files. If this is your first time playing, select one of the NEW GAME files and press the A Button. When the words START and OPTIONS appear, select START and press the A Button to begin. If you have a previously saved game file, simply choose that file to continue from your last save point.
In order to save your progress through Metroid Prime, you must find Save Rooms located throughout Tallon IV's many regions. When you find one of these rooms, enter the saving apparatus. When asked if you want to save, choose YES and press the A Button. All of your progress up to that point will then be saved to the Memory Card in Slot A. Erasing Files
If you want to erase a file, select Erase from the bottom of the screen, choose the file you want to erase, then press the A Button. Remember: Once you erase a file, you can never recover it, so be careful!
Options
From the pause screen, press the L Button to customize many features of your game-play experience. You can also access the Options screen from the Main Menu before you start your game.
Adjust Samus's visor opacity, her helmet opacity, and the HUD lag time.
Adjust the volume of the music and sound effects, or select between Mono, Stereo, and Dolby Surround modes.
Adjust the brightness and dimensions of the game play screen.
Choose to play with standard control or a reversed Y-axis. You can also turn the Rumble feature on or off and reverse the visor/beam configuration.
Progressive Scan Mode
This game can be set to display a higher resolution image on TVs that support progressive scan mode (EDTV, HDTV). In order to use the progressive scan mode, you need a TV that can accept this type of input (see your TV operation manual) and a Nintendo GameCube Component Video cable (available only through Nintendo. Visit www.nintendo.com or call 1-800-255-3700). To activate the progressive scan mode, press and hold the B Button while the Nintendo GameCube logo is being displayed until the message "Display in Progressive Scan mode?" appears. Select YES to activate the mode. Please note that on some TVs, activating the progressive scan mode will set the format of the image to a wide-screen (16:9) format.
Behind the Visors
Samus's most important tool is her suit, and it can provide her with a wealth of information by interfacing with various visors. Samus will start the game with two—the standard Combat Visor and the Scan Visor—but eventually she'll use four, each of which can be accessed easily by pressing different directions on the + Control Pad.
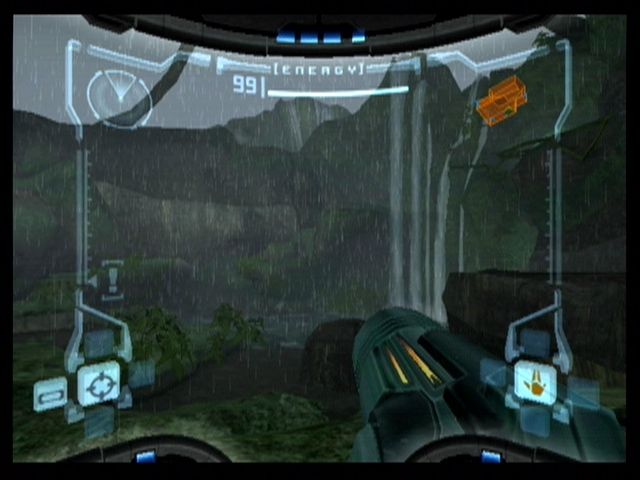
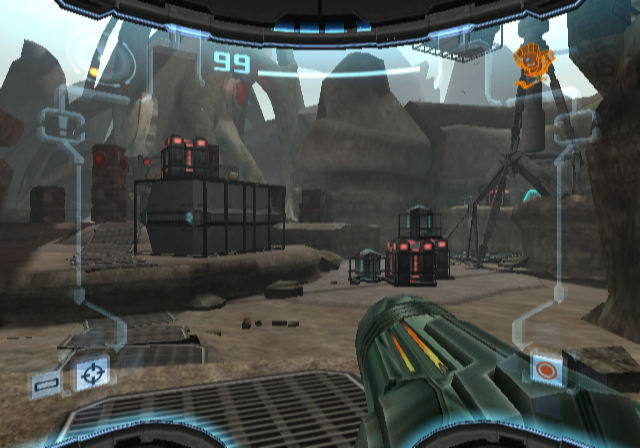
This default visor is standard for battle and provides Samus with all the general information she needs (see pages 14-15).
When Samus uses the Scan Visor, a magnifying reticule will appear in the center of her visor. This reticule picks out anything that can be scanned—from creatures to computer terminals—and shows it as an orange or red symbol. If you press and hold the L Button while locked onto one of these symbols, the Scan Visor will download information. Once it's done downloading, the visor will display a message.
Besides using the Scan Visor to solve puzzles, find enemies' weak spots, and unlock various areas in the game, Samus will also frequently download pieces of information that can be stored in her Log Book. These can be accessed by pressing START/PAUSE during game play (see page 25) and include creature morphologies, Space Pirate logs, Chozo literature, and much more. Once Samus finds the Thermal Visor, she can track enemies using their heat signatures. Not only does this visor help locate enemies hidden in dark areas, but it can also be used for acquiring alternate targets on enemies. A thermal scan can often find a hidden weak spot on an otherwise difficult enemy. Not only that, but thermal scans show other clues that the naked eye can't discern, if you run into a dead end, try scanning the entire area with the Thermal Visor equipped.
After Samus tracks down the X-Ray Visor, she'll be able to peer through walls to find hidden passages and even see invisible objects. This visor also helps track any enemies that use optical camouflage to render themselves invisible to the naked eye. As with the Thermal Visor, the X-Ray Visor can often identify alternate means of attacking foes.
Samus's Databanks
Samus's suit can store a huge quantity of data that will help her along her journey. Most information, with the exception of the map, can be accessed by pressing START/PAUSE during game play. Once the inventory screen appears,
.png)