PlayStation 2 Setup
Set up your PlayStation®2 computer entertainment system according to the instructions in its Instruction Manual. Make sure the MAIN POWER switch (located on the back of the console) is turned on.
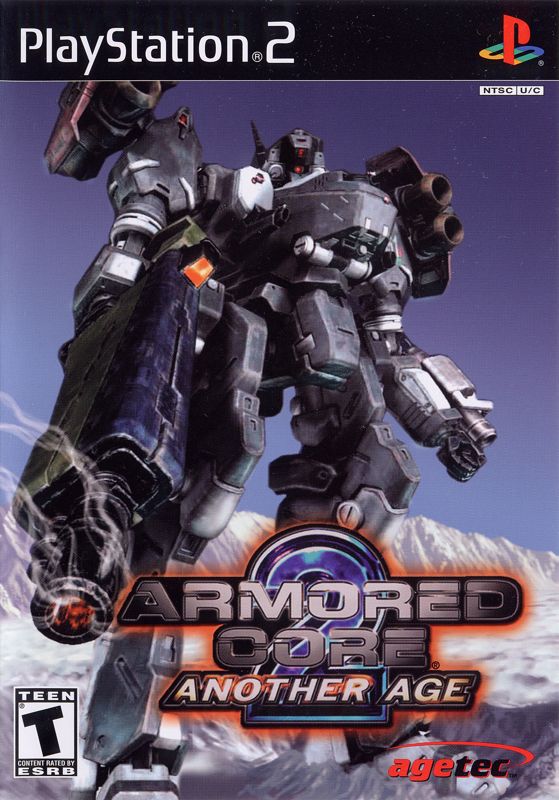
Press the RESET button. When the power indicator lights up, press the (OPEN) button and the disc tray will open. Place the ARMORED CORE 2: ANOTHER AGE disc on the disc tray with the label side facing up. Press the (OPEN) button again and the disc tray will close.
Attach game controllers and other peripherals, as appropriate. Follow on-screen instructions and refer to this manual for information on using the software.
Playing the Game
Startup Procedures
Turn on the MAIN POWER switch at the rear of the PlayStation®2 computer entertainment system, insert the game disc and press the RESET button.
Press the START button during, or after the demo to access the TITLE screen. Press the START button at the TITLE screen to access the MODE menu.
Mode Descriptions
New Game
This is the main mode and the one in which you carry out assigned missions. Use the credits you earn from successfully completing missions to purchase parts and weapons.
Load Game
Load saved game data.
VS Mission
Two-player, split-screen missions.
Split-Screen VS
Compete against a friend in head-to-head, split-screen battles.
Linked VS
Head-to-head battle mode requiring an i.Link cable.
To wage a two-player, linked battle you will need the following:
•
two PlayStation®2 computer entertainment systems
•
two copies of ARMORED CORE 2: ANOTHER AGE
•
one i.Link cable (sold separately)
Connect the i.Link cable to the iS400 terminals on the front of each PlayStation®2 computer entertainment system, prior to turning them ON. Insert one ARMORED CORE 2: ANOTHER AGE disc in each of the PlayStation®2 computer entertainment systems. If the i.Link cable becomes disconnected, reconnect it only after returning to the title screen.
Game Flow
If NEW GAME is selected, you will be taken to a menu where the difficulty level of the game can be set and the vibration function can be turned ON/OFF. After making any desired changes to these two settings, press the button to access the name entry screen.
Enhance your AC by purchasing parts with credits obtained through successful missions. Access a WORLD MAP area to view available missions. New areas and mission requests become available, as missions/areas are completed/cleared.
Garage
Assemble your AC here prior to accepting a mission. Color changes and other modifications are also performed here.
Mission
Verify mission request contents and begin a mission.
Success/Failure
An Income/Expense report is displayed after the end of each successful mission.
Shop
Parts and weapons can be purchased here with credits.
Main Menu (World Map)
The MAIN menu (WORLD MAP) consists of the following four menus. Make menu selections using the directional buttons and confirm selections by pressing the button.
System
Make changes to the game settings and SAVE or LOAD game data. You can return to the TITLE screen from here.
Mission
Missions are accepted here. Highlight the MISSION menu and press the button to select a WORLD MAP area. Press the button to return to the MAIN menu.
Shop
Parts/weapons are bought and sold here.
Garage
AC assembly and color changes are performed here.
Area Information
•
[Area Name] Displays the name of the currently selected area.
•
[Avg. Difficulty] Displays the average difficulty of the currently selected area.
•
[# of Missions] Displays the number of currently available missions (right) and number of completed missions (left) for the currently selected area.
•
[Achievement %] Displays how much of the entire game has been completed.
Garage
AC assembly and color changes are performed here.
AC Change
Register up to three separate AC creations. Press the L1/R1 buttons to cycle between AC creations.
Assembly
Create an original AC by combining parts and weapons. Use the directional buttons to select different part categories (ex. Heads, Cores). Once a part category is selected, use the directional buttons to cycle through the different parts available within that category.
Press the button to confirm selections. When the assembly is complete, press the button to return to the GARAGE menu.
Press the button to display part/weapon details (ex. cost, weight, energy consumption, offensive and defensive strength).
During AC assembly, make sure that the values on the left hand side are not displayed in red. If they are, you will not be able to participate in the missions. Be careful not to exceed the values shown on the right hand side.
Status Displays
•
[AP] Indicates your AC's ARMOR POINTS
•
[LEGS WP] Indicates the leg parts' load capacity
•
[WEIGHT] Indicates your AC's total weight
•
[CORE WP] Indicates the core's load capacity
•
[EP OUTPUT] Indicates generator output
Warning Messages
•
[Equipment Incomplete] The AC is not equipped with one







_1.png)


_1.png)