Getting Started
Set up your PlayStation®2 computer entertainment system according to its Instruction Manual. Make sure the MAIN POWER switch (located on the back of the console) is turned on.
Press the RESET button. When the power indicator lights up, press the open button and the disc tray will open. Place the Q-Ball Billiards Master disc on the disc tray with the label side facing up. Press the open button again and the disc tray will close.
Attach game controllers and other peripherals, as appropriate. Follow on-screen instructions and refer to this manual for information on using the software.
PlayStation 2 Components
Game Overview
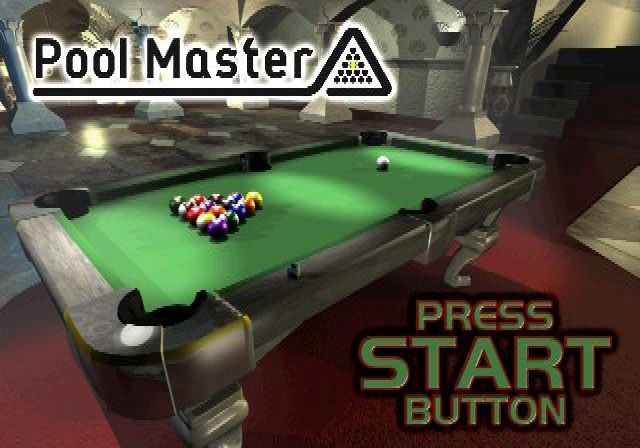
Title Screen
At the title screen, press the START button to display game modes.
Game Modes
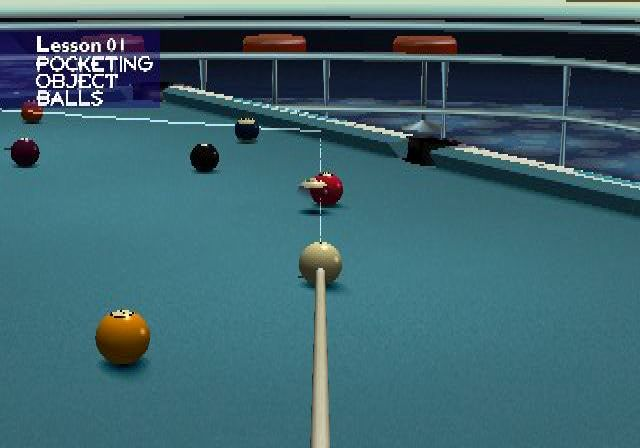
BILLIARD LESSONS
Easy-to-understand billiard lessons given by Yoshikazu Kimura, a professional billiard player, beginning with the basics and progressing to advanced techniques. There are 10 lessons in total.
VS. PLAYER GAME
Play against another game player, Q-Ball Original characters, or Q-Ball's Professional Player characters. Learn to complete the different "Bingo Combinations" in unique Bingo System.
There are some additional games and ranks which become available only when certain conditions are met.
FROZEN GAME
Puzzle-like Q-Ball original game. This game has 50 stages total.
FREE PLAY
Position the balls freely and shoot them without any restrictions.
SAVE/LOAD
Save or load game data. PlayStation2 Memory Card (8MB) is required. Memory Card must be inserted into MEMORY CARD slot 1.
Screen Displays
POWER GAUGE
Indicates the shot power once shot mode is activated.
MINI SCORE
Displays the score and shooter on the right side of the screen. In Eight Ball, the solids and stripes are also indicated.
CUE BALL WINDOW
Displays the exact contact point on the cue ball. Press button to display the window indicating the cue ball display.
Press and hold the button and use directional button to adjust the contact point on the cue ball. Press button plus the X button to reset the contact point to the center.
CUE ANGLE WINDOW
Press the R1 button to display the window indicating the cue angle. Change the cue angle using the Left Analog Stick (DUALSHOCK™ 2) and/or the directional buttons.
Billiards Lesson
Call Shots
•
Left analog stick or directional buttons to select object ball. Press the O button to confirm.
•
Left analog stick or directional buttons to select pocket. Press the O button to confirm.
Billiard Lessons
Try to clear lessons 1 thru 10 featuring Supervisor Yoshikazu Kimura. Choose a lesson using the UP/DOWN directional buttons or the left analog stick and press the X button to confirm. Press A button to go back to the title screen.
Starting a Lesson Game
Choose a lesson in the Index screen to start a mock game. Pass the game following the instructions displayed. To read about theories and dynamics of billiards, press the START button and select an item such as DETAILS from the menu displayed.
Play Menu Screen
Press the START button to display the menu. Choose one of the following options. Press the A button to go back to the previous screen.
•
Details: Learn detailed theories and dynamics of billiards.
•
DIC (glossary): Look up the descriptions of the terms used in the lessons.
•
Option: Select in-game music tracks.
•
Quit Game: Go back to Lesson 1-10.
Glossary of Billiard Terms
Select GLOSSARY OF BILLIARD TERMS from the index. Select a term using the UP/DOWN directional buttons and press the X button to confirm. Use the RIGHT Directional button to move to the description. The descriptions can be displayed by using the UP/DOWN directional buttons as well. Press the A button to go back to the previous screen.
VS. Player Game
You can play against another game player or computer opponents. When you're playing against computer opponents and you win a game, the appropriate panel of the Q-Ball (Bingo Grid) changes.
The Flow of the VS. Player Games
Enter Your Name
Use the in-game keypad to enter your name. Select a letter and press the X button to enter the letter into the slot.
•
Directional button: Move the cursor to select a letter.
•
X button: Enter the selected letter or confirm a control selection.
•
L1 button: Move the cursor in the name slot to the left.
•
L2 button: Move the cursor in the name slot to the right.
•
START: Move the letter selection cursor to OK.
Advanced Settings
When you finish the Name Entry, the window for advanced settings is displayed. Select an item using the UP/DOWN Directional button and press the X button to confirm. Press the A button to go back to the Name Entry screen.
•
Rename: Redo the name entry.
•
Delete: Delete the registered data.
•
Select CANCEL or OK and confirm when a message is displayed.
**Game


_1.png)