GETTING STARTED
Set up your PlayStation®2 computer entertainment system according to the instructions supplied with your system. Check that the system is turned on (the on/standby indicator is green).
Press the OPEN button to open the disc cover. Place the STAR TREK: ENCOUNTERS disc with the label side facing up in the disc holder, and then close the disc cover. Attach game controllers and other peripherals as appropriate. Follow the on-screen instructions and refer to this manual for information on using the software.
Memory Card (8MB)(for PlayStation®2)
To save game settings and progress, insert a memory card (8MB) (for PlayStation®2) into MEMORY CARD slot 1 of your PlayStation®2 system.
You can load saved game data from the same memory card or any memory card (8MB)(for PlayStation®2) containing previously saved games.
MAIN MENU
Navigation is fairly straightforward in STAR TREK: Encounters. Use the X button to advance through the menus and the O button to move back. Pressing Up, Down, Left, Right on the directional buttons navigates the menu selections.
Skirmish
Selecting this option advances the player into the Skirmish Main Menu. Skirmish mode allows the player to set up single or multiplayer battles on the fly without an associated mission.
Initially, the player only has access to a select few Federation ships. However, as they progress through the single player portion of the game, some of the ships you encounter will be unlocked as you complete the missions.
Episode
Selecting this option advances the player into the Mission selection screen. Initially, only one era and one mission are unlocked. You must complete each mission successfully before the next is unlocked.
Options
Choosing Options in the Main Menu will bring you to the Options screen where you can adjust settings for Vibration, Audio Type, Audio Volume, Multiplayer Split, and Autosave features.
Vault
Selecting this option advances the player into the Vault screen. The Vault is where you can access the Ship Viewer, Character Cards, and the game's credits.
GAMEPLAY MODES
SKIRMISH
Skirmish mode allows the player to set up one of the three game types: Head-to-Head, Battlefest, or Onslaught. Each of these game types has its own unique goals and rule sets.
They can be played by a single user vs. CPU controlled opponents or by two players in a Head-to-Head battle. Onslaught mode can also be played cooperatively by two players or by one player vs CPU-controlled opponents.
Head-to-Head
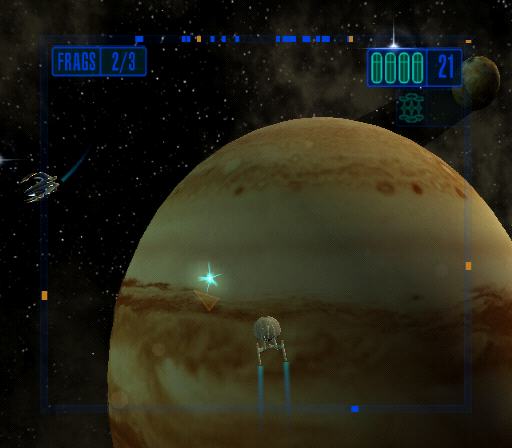
Head-to-Head battles are simply that... two opponents squaring off against each other in a fight to see who can reach the 'frag limit' first. In this mode, the player(s) can choose only one ship to pilot for the duration of the match.
Battlefest
Battlefest matches are similar to Head-to-Head battles, with the exception that each player selects their ships from a pre-defined list, broken down by race. Players then attempt to destroy each of their opponent's ships one at a time. The winner is the player who destroys all their opponent's ships first.
Onslaught
Onslaught pits the user in a battle of never ending waves of enemy ships. Each destroyed ship earns the player points and bonus points can be earned for successfully completing a wave quickly.
This game mode can be played by 1 or 2 players cooperatively. High scores are saved and can be viewed in the High Scores screen accessed via the Skirmish Main Menu.
HIGH SCORES
EPISODE
Episode mode provides the player access to each of the five STAR TREK television eras. (STAR TREK: The Original Series, STAR TREK: Next Generation®, STAR TREK: Deep Space Nine®, STAR TREK: Voyager® and STAR TREK: Enterprise™).
Each era has a number of missions that can be played and experienced. Initially, only the Enterprise era is unlocked and in order to unlock the next era, all of the missions must successfully be completed in the current era.
Unlockables
As you progress through Episode mode, you can unlock and find various ships, character cards, and missions for play in other areas by completing current missions.
Players are able to replay any individual mission at any time in order to increase their ranking.
OPTIONS
The Options Menu is the area where you can set various game and display settings. Once you are finished with any changes, select Confirm Changes to save them.
Vibrate
This setting toggles the vibration functionality OFF and ON. Default is ON.
Audio Type
This setting toggles the audio output between MON
.png)

.png)
.png)
.png)
