GETTING STARTED
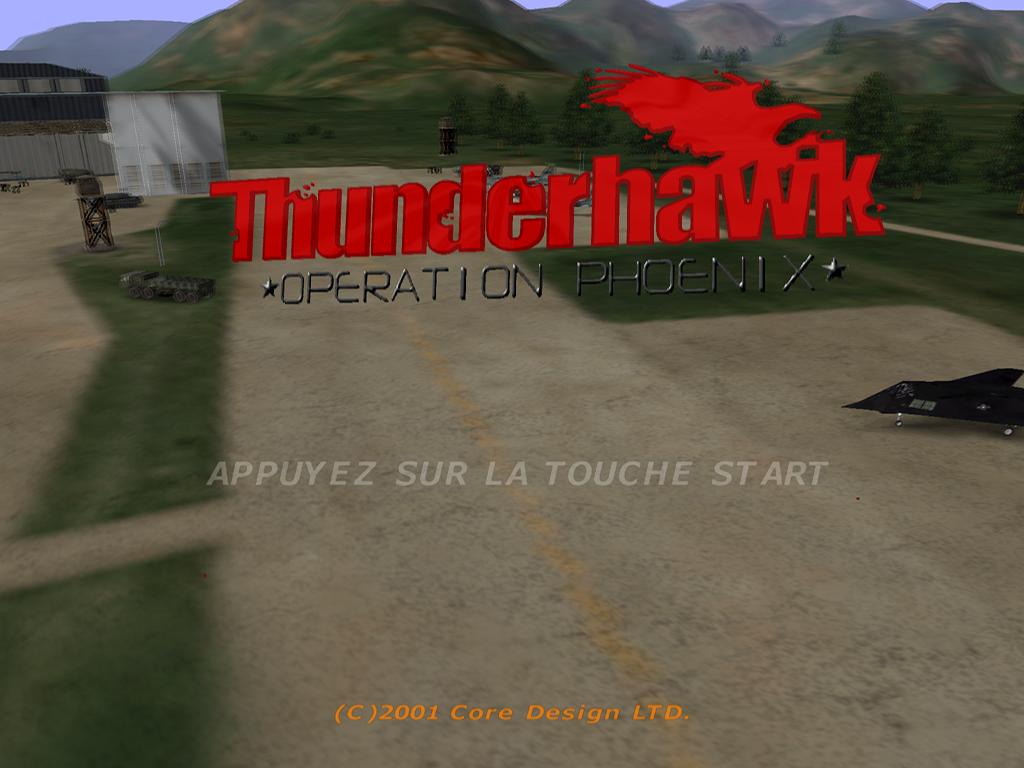
An introductory sequence will play. After it finishes, press the START Button to open the Main Menu.
If you do not press the START Button, a rolling demo will play automatically. Pressing any button on the controller will return to the Start Screen.
MAIN MENU
•
New Game: Select this option to start a new game.
•
Load Game: Select this option to load a previously saved game.
•
Test Range: Select to fly chopper in Test Range.
•
Options: Select to call up the Options Menu.
OPTIONS MENU
•
Controls: Allows you to choose alternative control methods or create your own.
•
Vibration: Switch Controller vibration ON or OFF (default).
•
SFX: Use slider bar to set sound effects volume.
•
Music: Use slider bar to set music volume.
•
Sound: Switch between Mono or Stereo (default).
•
Screen Adjust: Allows you to re-center the image on your screen.
•
Credits: View the names of the people involved in producing the game.
•
Difficulty Level: Switch between, Normal (default) and Hard.
•
Load Settings: Loads settings you saved to memory card (8MB) (for PlayStation®2).
•
Save Settings: Save the changes you have made to a memory card (8MB) (for PlayStation®2).
ORIENTATION
MISSION BRIEFING ROOM
Upon selection of a campaign, you will be escorted to the Mission Briefing Room. Here you will receive top-secret mission briefing documents including tactical information, current Intel, and mission objectives.
Study this information well. All up-to-date Intel and recon is made available to you to ensure the upper hand in each mission.
Upon successful completion of each mission, you will be returned here to receive the next mission briefing. Press the button to confirm you have received your orders and proceed immediately to the AH74 hanger for mission equipping supervision.
GAME CONTROLS
ARMAMENT SCREEN
After selecting a campaign, you will be transferred to the AH74 hanger. Ground tacticians will have prepared a selection of weapons for your mission.
If you agree with their assessment, scroll down to the box marked Exit and press the button. The pre-selected weapons will be displayed on the right of the screen.
If you wish to alter the selection of weapons, you are free to do so. The weapons on the left-hand side of the screen are available for your vehicle.
There is a limit to the payload you can carry, so select the right type of weapon carefully. A brief description of each weapon is alongside its icon to aid your choice.
The weapons on the right of the screen are the currently selected weapons. To change a currently selected weapon, use the Directional buttons to highlight the unwanted weapon on the right. Switch back to the left-hand side, scroll up and down until the desired weapon is highlighted, then press the button and the two weapons will swap places.
As the chopper is only equipped with one gun turret, selecting an alternative gun on the right-hand side will trigger a prompt to replace the existing gun.
Certain weapons will be deemed unsuitable for certain missions and will be badged as 'Unavailable'.
Once you are happy with your payload selection, highlight the Exit box on the left-hand side and press the button, and you're ready for action.
At any time, you can refresh your memory of the mission objectives by pressing the button to return to the briefing room.
Highlighting and selecting the clear box will remove all weaponry, except for your chain gun, from the chopper. Selecting the auto box will rearm using the preselected weaponry for the mission.
Once on-board, you have the choice of 3 views: first or third person or in-cockpit. You can alter between these by pressing the button or the select button.
Now take control of the most sophisticated tactical battlefield vehicle known to man and happy shooting!
PAUSE MENU
While in-game, you can pause the action by pressing the START button. This will display the Pause menu with the following options:
•
Switch Controller vibration on or off
•
Time of Day (test range only)
Refer to the Options Menu for a more detailed description of these options.
COCKPIT INSTRUMENTATION
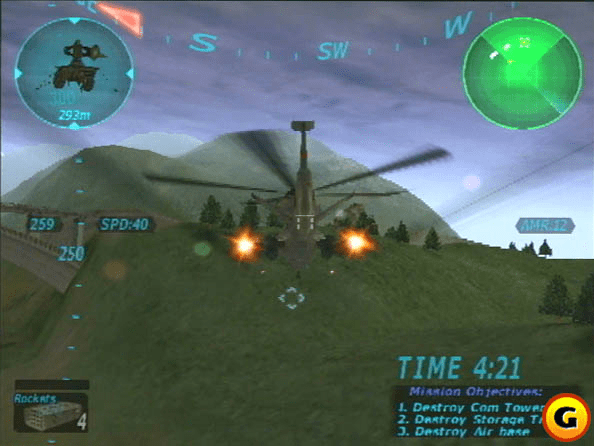
1. COMPASS: Displays current direction of travel. Also indicates the direction to the nearest mission objective as a red triangle. Keeping the triangle in the center of the compass will ensure correct direction of travel to the objective site.
2. CURRENT TARGET INDICATOR (CTI): Indicates current target lock by way of a computer-enhanced image of the target. This image will not indicate whether the target is friendly or not. Use the HUD indicator, which displays friendly targets in a blue box and enemy targets in red, to check. The CTI indication also displays range to target.
3. SPEED: The speedometer displays your speed relative to the ground.
4. ALTIMETER: The Altimeter indicates your current height from the ground.
MISSION BOUNDARIES
Mission boundaries are indicated on your radar screen as a series of white dots. As you approach a boundary, a visual text warning will be displayed on your HUD.
Once you have completed all objectives, leave the mission area as soon as possible for debriefing. If you leave the mission area without completing all objectives, you will receive a demerit.
NIGHT VISION
For night-time missions,


_1.png)
_1.png)
