PlayStation 2 Setup
Set up your PlayStation 2 system according to its Instruction Manual. Ensure the MAIN POWER switch (on the back of the console) is on. Press the RESET button. When the power indicator lights up, press the OPEN button to open the disc tray. Place the X2 Wolverine's™ Revenge disc with the label pointing up. Press the OPEN button again to close the disc tray. Do not open the tray during gameplay. Attach game controllers and other peripherals as appropriate. Follow on-screen instructions and refer to this manual for information on using the software.
Main Menu
Press left or right on the directional buttons to highlight a menu option, then press the X button to choose it. Press the Δ button to go back to the last screen.
Load Game
Select this option to load a saved game from the memory card (8 MB) (for PlayStation®2).
New Game
Select this option to start a new game without loading any previously saved game data.
Options Menu
The Options menu allows you to change various game settings, including volume levels, controller vibration, and screen adjust. You can also view game credits and the high score table.
Settings
•
To adjust volume levels, press the directional buttons left or right to decrease or increase the volume of SFX/speech or music.
•
To adjust vibration, press the directional buttons left or right to switch vibration OFF or ON.
•
To adjust the screen, highlight the Screen Adjust option and press the X button.
•
Press the directional buttons to move the screen in the relative direction. When satisfied, press the X button to confirm.
•
To restore default settings, highlight the Restore Default option. Press the directional buttons left or right to change the option to NO or YES. Select YES and press the X button to confirm.
High Score
Press the X button on this option to enter the high score table. Here you will see the Top Five X2 Wolverine's™ Revenge scores. Credits
This lists all the people who worked on the production of X2 Wolverine's Revenge. Level Select
The Level Select option will be unlocked after successful completion of the game. Once unlocked, you can replay any level you wish.
Saving Settings
Your settings will be automatically saved to the memory card (8 MB) (for PlayStation®2) when you first save your progression in-game. Remember to save your game after each level if you want to return to it later.
Bonus Menu
The Bonus menu contains unlockable bonuses and secrets. Here you can go into Cerebro, choose a new costume, play a challenge*, or listen to the in-game soundtrack.
*Challenges are only accessible after successful completion of the game.
Your Mutant Healing Factor
Healing occurs automatically unless:
•
You're under the influence of gas (poisonous/choking).
•
You're under the influence of the SHIVA virus.
Your Adamantium Claws
Sheathe or unsheathe claws using the R2 button. Claws cause more damage in combat but are slightly slower than punches.
Claws can damage some environmental objects such as wire fences, some doors, and crates. You cannot heal when claws are out.
Using claws on enemies and objects with electrical defenses will cause damage. Claws auto-pop when you go Feral.
Your Feral Rage
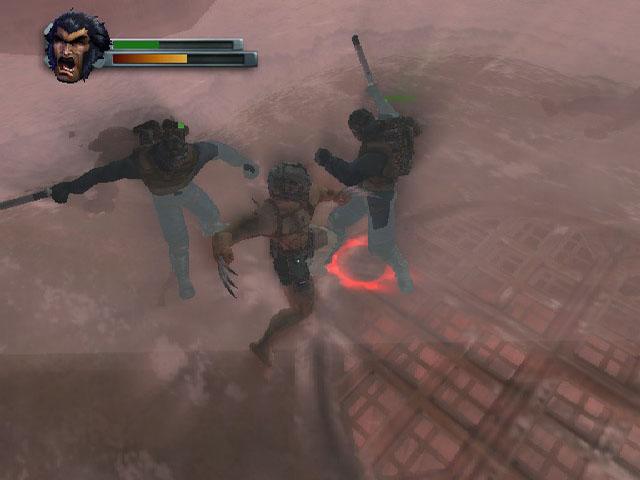
The Feral Rage Bar is located above the Health Bar. Rage energy builds up when you hit someone, or when they hit you. Rage energy depletes if no one has hit you or you haven't hit anybody for a while. When your energy reaches the red, trigger your rage by double-tapping the R2 button.
When you go Feral, your claws will pop automatically and:
•
Your resistance to damage is better.
•
You cause more damage with your claw slashes.
Strike Moves & The Combat Progression System
Strike Moves are fundamental to Wolverine's fighting system. Getting through the game will be tough without them. Strike moves allow you to take out multiple enemies with spectacular combinations. At the beginning of the game, Wolverine only has access to his basic move set and Combat Level One Strike Moves. To perform a Strike, maneuver yourself in combat until you see the directional arrows on the ground and the STRIKE indicator appears onscreen. Press the O button. Strike Moves are always triggered by the O button. More complex Strike Moves at higher Combat Levels are chained from the O button.
Each combat level contains four "directionally triggered," uniquely-named Strike Moves and a single-opponent finishing strike. There are four Combat Levels to progress through, each one more visually spectacular (and worth more points) than the last.
Different Combat Level Strikes require different button combo presses and will cause progressively more damage to different levels of enemies. More deadly Strikes require more complex button combos to trigger.
Other levels of Strike are earned by collecting Dog Tags during play. In addition to Combat Strikes, there are special Stealth Strikes, Situation-Specific Strikes, and Boss-Specific Strikes which become available at certain points in the game. Always be on the lookout for a Strike opportunity!
Finishing Moves
These moves are possible
.png)


.png)


.png)
.png)


_1.png)