HOW TO CONNECT YOUR GUNCON
•
Connect the Guncon controller plug into controller port 1.
•
Connect the A/V cable from the PlayStation®2 computer entertainment system to the female side of the Guncon video input.
•
Plug these connected cables into your television set.
When connecting two Guncon controllers, first plug the Guncon video input cables into each other. Then, connect the A/V cable and plug these connected cables into your television set. Finally, connect the Guncon controllers into controller ports 1 and 2.
HOW TO CONNECT YOUR GUNCON2
•
Connect the A/V cable from the PlayStation®2 computer entertainment system to the male/female portion of the External Cable.
•
Plug this portion of the External Cable into your television set.
•
Connect the RCA pinjack from the Guncon2 into the remaining portion of the External Cable.
•
For two guns, connect the 2nd gun to the remaining free side of the External Cable.
•
Connect the USB plug into the top USB connector located on the front of the PlayStation®2 computer entertainment system.
•
To play with two guns, insert the USB plug for Player 2's gun into the bottom USB connector.
USING GUNCON & GUNCON2 TOGETHER
•
Plug the Video Input from the Guncon into one end of the female/female portion of the External Cable supplied with the Guncon2.
•
Next, connect the RCA pinjack from the Guncon2 into the remaining free side of the External Cable.
•
Connect the A/V Cable from the PlayStation 2 into the male/female portion of the External Cable. •
Plug this portion of the External Cable into your television set.
•
Connect the USB plug from the Guncon2 into the top USB connector located on the front of the PlayStation 2 console. •
Connect the controller plug from the Guncon into controller port 2. You are now ready to play using both guns!
When using the Guncon and Guncon2 together, make sure the controllers are not connected to the controller port and USB connector of the same player. For example, if a Guncon2 is connected to the top USB connector and a Guncon to controller port 1, the Guncon2 connected to the top USB connector will override the Guncon in controller port 1. The same is true for the bottom USB connector and controller port 2.
STARTING THE GAME
HOW TO CALIBRATE THE GUNCON
Before you start playing, you need to calibrate the Guncon. If the Guncon controller is connected to the console, the Guncon Calibration screen will automatically appear when you start the game. You can also access the Guncon Calibration screen by selecting GUNCON CALIBRATION in OPTIONS mode.
In the Guncon Calibration screen, aim the Guncon at the "+" mark at the center of the screen and pull the Trigger. Pull the Trigger as many times as it takes to adjust your aim. When you are done adjusting your aim, press the A or B button to proceed to the next screen. The aim may be off if you start playing without calibrating the Guncon.
If you are using the Guncon2, you can do a 2-Point Adjustment for better calibration. To perform the 2-Point Adjustment, aim the Guncon2 away from the screen and press the Trigger + C button. If you are using a progressive-scan TV, the Guncon2 will automatically perform the 2-Point Adjustment.
NOTE
•
Guncon/Guncon2 does not support hi-vision, LCD, plasma display or projection TVs. Some progressive-scan, multiple-function and hi-level TVs also may not be supported.
•
TV type (standard/progressive) is determined only with the Guncon2. If the Guncon2 controllers are connected to both USB connectors, the TV type will be determined by Player 1. If Player 1 is using the Guncon and Player 2 is using the Guncon2, the TV type will be determined by Player 2.
•
When using progressive-scan TV, there is a high chance that you will not be able to adjust the Guncon on the Player 1 side. If progressive-scan TV is selected using Guncon2 on the Player 1 side, Guncon on the Player 2 side will not operate.
•
Manual 2-point adjustment is only available with the Guncon2. However, if manual 2-point adjustment is performed with the Guncon2 on the Player 1 side, the setting can be reflected in the Guncon on the Player 2 side.
•
2-point adjustment is not necessary with a standard TV. (It is designed for use with a wide-screen TV.)
MEMORY CARD (8MB) (FOR PLAYSTATION®2)
Insert a memory card into MEMORY CARD slot 1 to load a saved game or create a new Time Crisis 2 game file. The game will automatically check for a memory card in MEMORY CARD slot 1 when you start the game. If a memory card is present, the saved game data will automatically be loaded. If no saved game data is present in the memory card, you will be asked if you want to create a new game data file. Select YES to create a new game file on the memory card. Select NO to proceed to the Main Menu without creating a new game file. If you selected YES, you are given an option to turn on the AUTO SAVE feature. Select YES again to automatically save rankings and game settings. AUTO SAVE can also be turned ON/OFF in Options.
MAIN MENU
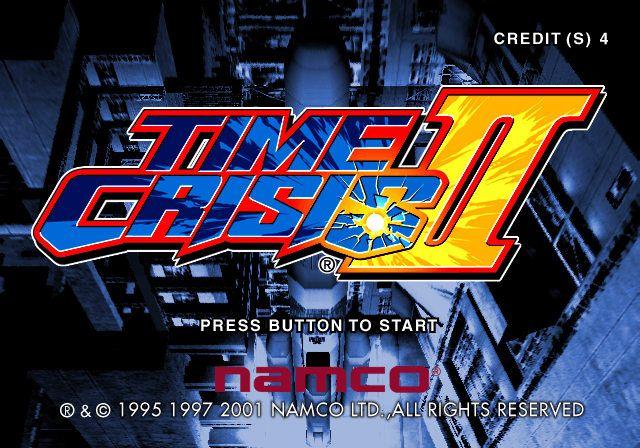
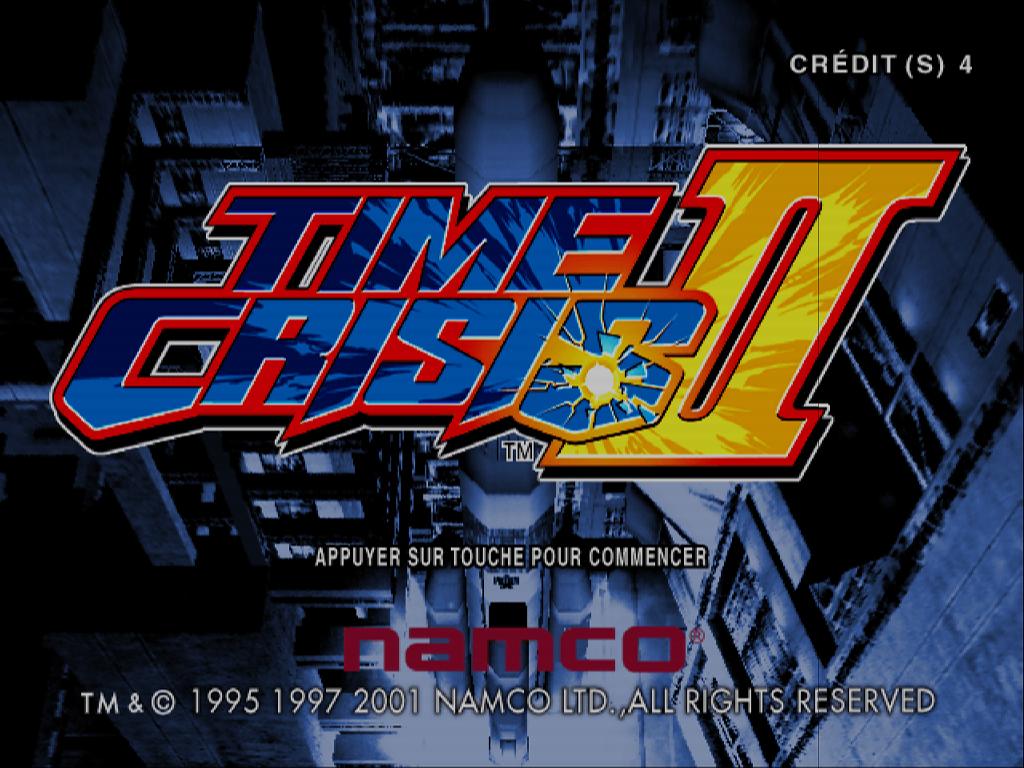
To display the Main Menu, press any button at the Title screen. Various game

_1.png)


_1.png)
.png)
.png)

_Front_Cover.jpg)

.png)
.png)
.png)
_1.png)

_1.png)
_1.png)
_1.png)
.png)

_1.png)
_1.png)


_1.jpg)
