SETUP
Set up your PlayStation® game console according to its Instruction Manual. Make sure the power is off before inserting or removing a compact disc. Insert the ACE COMBAT 3: ELECTROSPHERE™ disc and close the disc cover. Insert game controller(s) and turn on the PlayStation game console. Follow on-screen instructions to start a game. Console Top View
Console Front View
GETTING STARTED
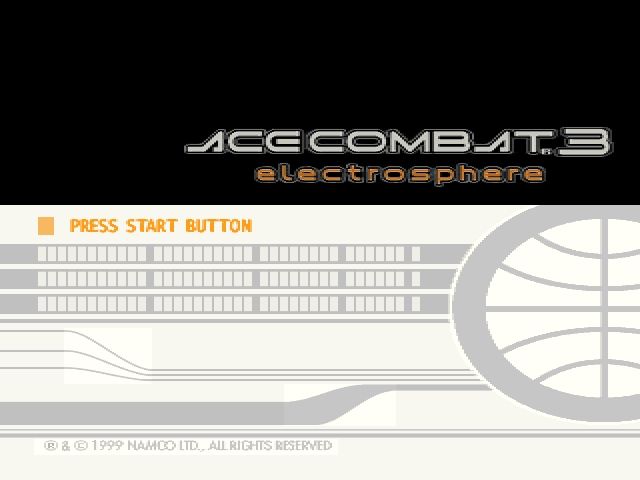
On the Title Screen, press the START Button. The Log-In Menu will appear.
Select an option by pressing or with the Directional Buttons or Left Stick, then press the Button to accept.
•
NEW GAME: Start a game from the beginning.
•
LOAD: Load a previously saved game from a Memory Card.
•
RE-OPEN: Once you have loaded a saved game, you can re-open a mission and attempt to improve your records.
(Refer to the MEMORY CARD section for more information on LOADING and RE-OPENING a game.)
SETTING THE GAME DIFFICULTY LEVEL
Set the game's difficulty level. Make your choice from among the three options EASY, NORMAL and HARD and press the Button to accept. You will then progress to the Main Menu.
MAIN MENU
Use the Directional Buttons / Left Stick to highlight selections, and press the Button to enter each sub-menu. Press the Button to exit each menu and return to the Main Menu.
•
MISSION: Advance to the first/next mission
•
RECORDS: Upon mission completion, you can view the number of targets and aircraft destroyed, and the number of operational aircraft and weapons available. Individual Mission Records and overall performance rating are also viewable.
•
SAVE: If you have a Memory Card inserted into Memory Card slot 1, you will be able to save your progress and records. See the Memory Card section in the manual for more information.
•
OPTIONS: Select this to configure your Controller and Game options.
OPTIONS
Select the OPTIONS Menu and the following sub-menus are available:
•
CONTROLLER: Go to CONTROLLER options menu.
•
GAME: Go to GAME options menu.
•
BACK TO TITLE: Press the START Button to return to the Title Screen. At the Title Screen, you will now be able to access the RE-OPEN option on the Log-In Menu.
CONTROLLER
This menu is used to set the functions of individual buttons. To toggle between the MAIN and CUSTOM tabs, press or . Press the Button to return to the OPTIONS menu.
MAIN
•
CONTROL: Sets the aircraft's flight control.
•
Refer to FLIGHT CONTROL section for more information.
•
RESPONSE: Sets the response time to analog input operations such as "Turn" on an analog-based Controller (e.g. DUALSHOCK™ analog controller or neGcon). The options are QUICK, NORMAL and SLOW.
•
NEUTRAL ZONE: This sets the amount of give for analog operations on a neGcon. The options are NARROW, MEDIUM and WIDE.
•
OK: Once you set your options, press the or START Button to return to the OPTIONS menu. If you are using the neGcon, press the START Button after calibration to return to the OPTIONS menu.
CUSTOM
•
CONTROLLER TYPE: This option allows you to select either ANALOG or DIGITAL Button settings. Select a button to change, align the cursor with the Button you want to change, and then press the Button. A list of the control functions that can be assigned will then be displayed. Make your selection, then press the Button to accept.
•
OK: Press the or START Button to return to the previous menu.
•
DEFAULT: This option restores the initial settings.
GAME
Use this menu to change system settings. Press the Button to select a setting option, or press the A Button to return to the OPTIONS menu.
•
AUDIO SETTINGS: Select the sound settings. Press to highlight each option, and / to change the sound output from STEREO to MONO, or to raise or lower the Sound Effects level and Background Music level. Press the Button to save your settings and return to the previous screen.
•
BRIGHTNESS TEST: This option lets you adjust the screen brightness. Adjust the brightness level on your TV set so that you can only see one set of circles on-screen.
•
Note: Adjustments are to be made on your TV.
•
ADJUST SCREEN: Set the screen position. After adjusting the screen position using the Directional Buttons, press either the START Button or the Button. Pressing the Button will restore the previous screen position setting and return you to the Game Settings screen.
•
Caption: Turn the in-battle caption display ON or OFF (i.e. to display messages in the upper-right corner of your HUD).
•
Vibration: Set the vibration of the DUALSHOCK™ analog controller to STRONG, WEAK or OFF.
•
Map: Turn the map display ON or OFF.
MEMORY CARD
Make sure there are enough free blocks on your Memory Card before commencing play (consult the Memory Card icon on the back of the software box for more information).
•
SAVE: After each mission, you will return to the Main Menu, where you will be able to save your progress to a Memory Card via the SAVE menu. Select YES
.png)

_2.png)
.png)
 (En,Fr,De,Es,It).png)
 (Disc 1) (Rev 1).png)

.png)