Console Ports and Buttons
PlayStation 2 Setup
Set up your PlayStation 2 computer entertainment system according to its Instruction Manual. Ensure the MAIN POWER switch (located on the back of the console) is turned ON. Press the RESET button. When the power indicator lights up, press the OPEN button to open the disc tray. Place the GHOST IN THE SHELL®: STAND ALONE COMPLEX™ disc on the disc tray with the label side facing up. Press the OPEN button again to close the disc tray.
Attach game controllers and other peripherals as appropriate. Follow on-screen instructions and refer to this manual for information on using the software.
Multitap (for PlayStation 2)
Ghost in the Shell®: Stand Alone Complex™ supports up to 4 players. Use a multitap (for PlayStation®2) to gain access to 4 controllers. For multi-player play, insert a DUALSHOCK®2 analog controller into controller port 1 and the multitap (for PlayStation®2) into controller port 2. Connect controllers sequentially into controller port 2-A, controller port 2-B, and so on.
Title Menu
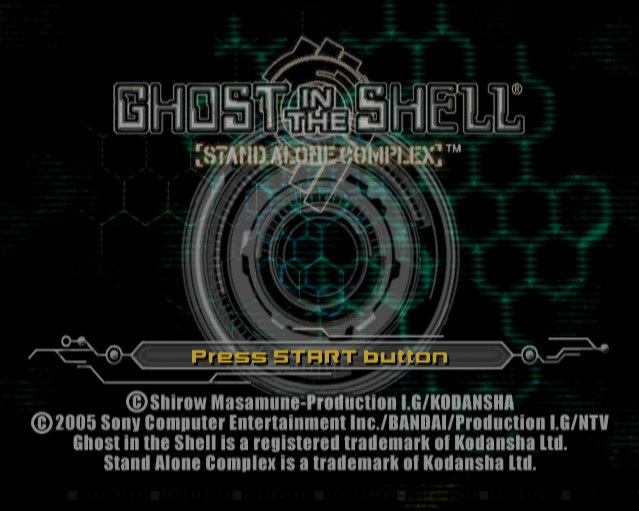
On the Title Screen, press the START button to switch to the Title Menu. To play a new game, select NEW GAME and confirm your selection. Once the difficulty level is set, the game will begin.
Title Menu Options
•
TRAINING: Character movement tutorial mode
•
NEW GAME: Begin new game
•
CONTINUE: Used when continuing game play from a previous save
•
MULTIPLAYER: Versus mode with Battle Royal and Team (see page 15)
•
OPTIONS: Change various settings (see page 7)
•
LOAD DATA: Loads data from the memory card (8MB) (for PlayStation®2)
Difficulty Settings
Options Menu
The Option commands are different when opened from the START menu as opposed to the main menu. Details on how to use each command are stated below.
Config
Change R1, R2 buttons and L1, L2 buttons configurations or invert your controls. Use the directional buttons or left analog stick to make your selection and confirm by going to EXIT. The controls currently selected will be displayed in the upper right portion of the Options screen.
Vibration
Select the ON/OFF vibration function of the controller. The default is set to ON. Select OFF if you wish to change settings.
Screen
Determines the ratio of the screen. Select either "4:3" or "16:9".
Subtitles
Select how the subtitles are displayed. Selecting "ALL OFF" will not display any subtitles and selecting "ALL ON" will display subtitles. When set on "AUTO", subtitles during battles and during movement will not be displayed.
Sound Setting
Determines the sound output. Select either "STEREO" or "MONO".
Music and SE
With Music, you can adjust the BGM. With SE, you can adjust the sound effect volume. Use the directional buttons or left analog stick to set the volume. The volume will increase as the volume bar moves to the right.
Monitor Tuning
This screen is used to adjust the brightness of the TV monitor. It is recommended that you adjust the television monitors so that the color objects on the bottom row can be seen.
Position Screen
Adjust screen position. Use the directional buttons or left analog stick to adjust, and press the button to confirm. Press the button to return to the default position.
Save
Save OPTION settings. This command may only be used when selecting OPTION from the START menu.
Load
Loads game data. This command may only be used when selecting OPTION from the START menu.
Default
If you select this command and confirm, you will be able to return all changed options to their initial state.
Using the Start Menu
View the Start Menu by pressing the START button while on the mission screen. You can view terminology commentary in this menu, which can be useful for obtaining more information.
Retire
This function is used to end the game. Be aware that Save Point data will not be saved. When you play the game again, you will play from an area that has been Auto Saved or from the beginning of an interrupted stage.
Restart
Stop current game play and restart the game from the last Save Point.
Communication Log
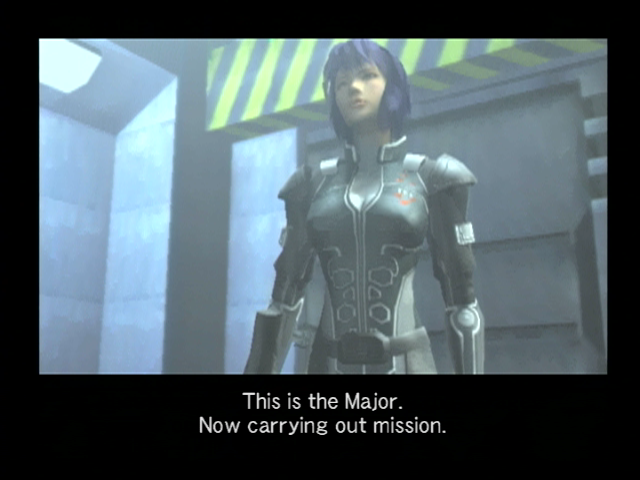
View FMVs and cyber communication between Public Security Section 9 members. Organize information obtained throughout the investigation and check the content of messages which you may have forgotten.
Word List
View commentaries on specific words and people that appear in the story. Depending on how you proceed through the game, there may be times when the log and word list are not filled. In such cases, try investigating the stage further.
Multiplayer Mode Match Settings
After entry, you will move onto the map selection screen. After each heading is confirmed, the game will begin.
•
Choice Arms: You can set the weapon to be used during battle. The
.png)

.png)



.png)




.png)