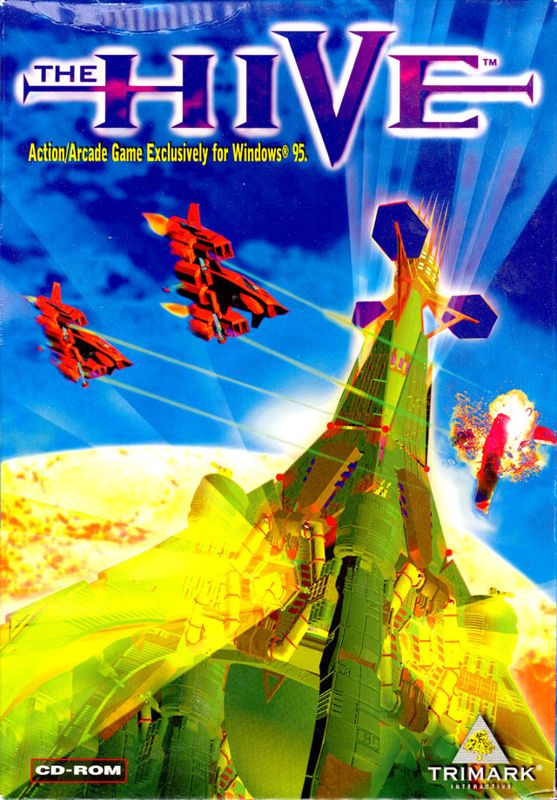
The Hive
Several millennia ago, the Ancients created a mutant strain of genetically engineered Hivasects to produce a deadly bio-toxin. In an accident of cosmic proportions, the toxin turned out to be so lethal that it erased the Ancients from existence. Since the recent discovery of the now extinct Ancients' civilization, the entire solar system has been under quarantine by the Federation for fear that the toxin would spread.
The Black Nexus Mob, masquerading as the Noir Dyne Corporation and controlled by Chairman Helms, has recently reentered the quarantined solar system and revived the Hivasects from an archived DNA sample of a Hivasect Queen. Noir Dyne has created an operational Hive with the capability to produce enough bio-toxin to threaten the Galaxy.
You are Max: a Federation Agent ordered by Federation Commodore Adrian to infiltrate the Noir Dyne ranks disguised as a cargo runner. Just outside the Ice Planet, you joined with the Noir Dyne vessel, STS Darkstar, in order to retrieve a bio-toxin sample and return it to the Federation for further study. Unfortunately, your cover was blown and the shipment you received was a bomb.
Some days as a Federation Agent are better than others. Luckily, your Federation liaison, Agent Ginger Malloy, warned you of the bomb. You aborted the mission, and the chase is on. With the help of Ginger's brief data bursts, you must now battle your way through enemy fighters, ground troops, robot weapons, and deadly alien Hivasects. Destroy the Hive and save the Galaxy. Good thing you're trained for this.
Scene 1: Rendezvous with the STS Darkstar
Max breaks hyperspace and decelerates towards the STS Darkstar. Somewhere inside the gunmetal Destroyer, Chairman Helms smiles at your fate. A controller patches into your receiver and notifies you of proper docking procedures.
The ship holding the bio-toxin samples is gigantic and impossibly old. The ancient craft opens its bay doors and releases the toxin sample into space. It's time for Max to do what he does best. Scene 2: The Cargo Drop
"Your cargo is a bomb!" Max is forced to drop what he thought was a bio-toxin sample. You can thank Ginger Malloy and the Federation for what's left of your cargo ship. The Noir Dyne Security Force moves in to finish you off.
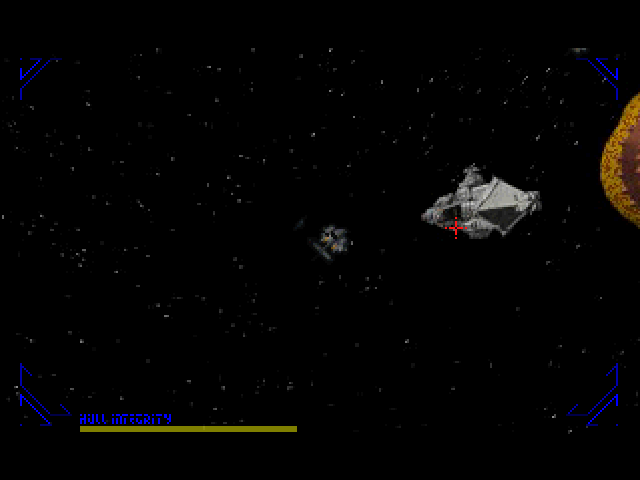
As your craft, the "Marilyn", turns into a tight barrel roll and breaks the Viper ship's ranks, you've got to take out as many fighters as possible. With the Viper ships swarming, Max takes a chance and bears straight for the STS Darkstar.
Do as much damage as you can to the STS Darkstar, and don't pay too much attention to the Marilyn's hull integrity. You're going to lose your space craft in this fight; the question is whether the escape pod ejects you in time. Scene 3: Atmosphere Re-Entry
As Max approaches the Ice Planet, the computer signals damage to the trajectory gyros. The atmosphere begins to burn around the escape pod windows, and Max switches the re-entry controls to manual.
The only bad guys you have to fight here are your nerves. By keeping the directional cross-hairs inside the glide path, you've got to make sure Noir Dyne doesn't serve Max up extra crispy. Max isn't just saving his own life; now he's got to rescue Ginger too.
Scene 4: Ice Planet Touchdown
Max rips through the lower atmosphere, and the hull of the pod rattles as the glowing metal warps in the sub-zero temperature of the Ice Planet. Watch out for those mountains!
You'll need to press your button (on the PlayStation Controller) to thrust the pod over the peaks of this mountain range. If that isn't bad enough, every Quad fighter on the planet is out to get you. Max plans on showing those Noir Dyne toads the reason why he's a Federation agent, so don't disappoint him. Just don't forget which button is which. Scene 5: Ice Caverns
The wind coming through the northern mountain pass tears through Max's flight suit, but getting blasted by a Quad fighter is no way to keep warm. Noir Dyne will come from all directions.
Keep in mind that when a wave of Quad fighters goes out, the next wave usually comes in the same way. Once he's secured his escape, Max breaks for the Cavern Base, hoping to find some way off this rock.
Scene 6: Hangar Bay
Max runs right through a central atmosphere hatch, before he realizes that he's wandered onto the Quad fighter Hangar Bay. The Noir Dyne soldiers try to outflank Max in order to overwhelm him with their numbers, so make sure to take out as many soldiers as possible in order to break up their formations.
Max takes a couple of hard hits but keeps on going. There will be plenty of time for him to lick his wounds when he's inside a Quad fighter, but he can't pay attention to his health just yet. Those Noir Dyne soldiers travel in packs, so get to know the direction they run. If Max takes a lethal shot in the back, you'll have to be more diligent the next time around.
When Max gets to the Quad fighter, he's almost free, but those big guns aren't for decoration.
Scene 7: Ginger's Message
An entire Hangar bay is devastated, a planet is left defenseless, and a single unaccounted Quad fighter speeds towards Noir Dyne's Ocean Platform; it's not so surprising that Ginger is able