STARTING UP
1. Set up your Sony PlayStation game console according to the instructions in its Instruction Manual. 2. Insert the DARK FORCES™ disc and close the CD door.
•
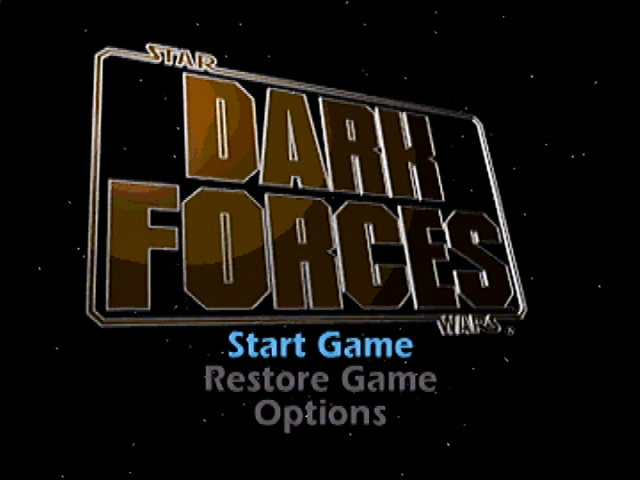
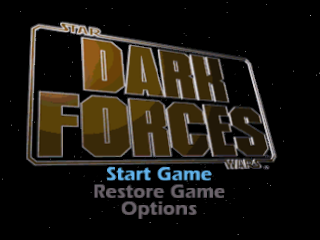
Make sure the PlayStation game console's power is off before inserting or removing a compact disc. 3. Plug in one game controller and turn the PlayStation game console ON. After a few moments, the TITLE SCREEN MAIN MENU will appear. 4. Press the Direction Buttons on your controller UP or DOWN to mark your selection. Then press the button to activate.
5. To begin a new game, select START GAME from the MAIN MENU. This will bring you to the SELECT MISSION MENU.
•
Highlight DIFFICULTY LEVEL and select one of the three Difficulty levels by pressing the left or right Direction Buttons.
•
Start the game by pressing "Start".
•
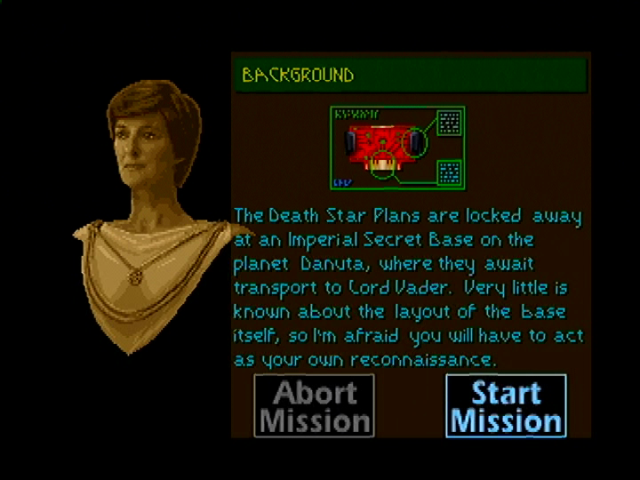
You will now see the Mission Briefing screen. This is where you get your information from your contract within the Rebellion, including the Mission Objective and the goals you have to accomplish to complete the mission.
•
If you're set to go, select START MISSION and press X.
SAVE/RESTORE GAME
1. If you want to save games, insert a memory card in the PlayStation game console before starting play. The option to save occurs whenever you finish a mission. Every time you save a game you over-write the previously saved game. 2. To access a saved game, select and activate RESTORE GAME from the MAIN Menu.
3. To access the passcode screen select NO in the RESTORE GAME MENU. The passcode menu will automatically appear when no memory card is inserted into your PlayStation game console. PAUSE GAME
1. To pause the game, press the START button on your game controller.
2. Use the Directional Buttons to select RETURN, RESTART, or ABORT GAME.
3. Press START to activate the selection.
CODED TRANSMISSIONS FROM Subject: Your Personal Data Assistant.
We've included in your stores a modular Personal Data Assistant (PDA) for inclusion in your personal onboard system. I know you'll find this an improvement over our old data displays (we've both complained enough about them!).
The new system is a lot easier to use. Just press SELECT on your controller then choose GO TO the PDA. You will see six buttons at the bottom which, when selected, access the six PDA functions (described below). Move left or right with the Directional Buttons.
PDA Functions
•
MAP: Displays all territory you have so far explored.
•
The up or down keys on your Direction Pad allow you to zoom in or out for close-up or overhead shots.
•
The R1 or R2 buttons toggle you through the different floors of the building.
•
WEAP (WEAPONS): Displays each weapon you are currently carrying.
•
INV (INVENTORY): Displays all non-weapon items in your inventory.
•
OBJ: Displays mission objectives and percent of secret areas found.
•
The "bullets" to the left of each objective are filled in as you complete them.
•
You must complete all objectives before proceeding.
•
MIS (MISSION): Displays text of your mission briefing. Scroll up and down with the Direction Buttons.
•
EXIT: Use the up or down button to choose RETURN, RESTART or ABORT MISSION. Press Start to activate selection.
JAN ORS TO KYLE KATARN Subject: The Heads Up Display
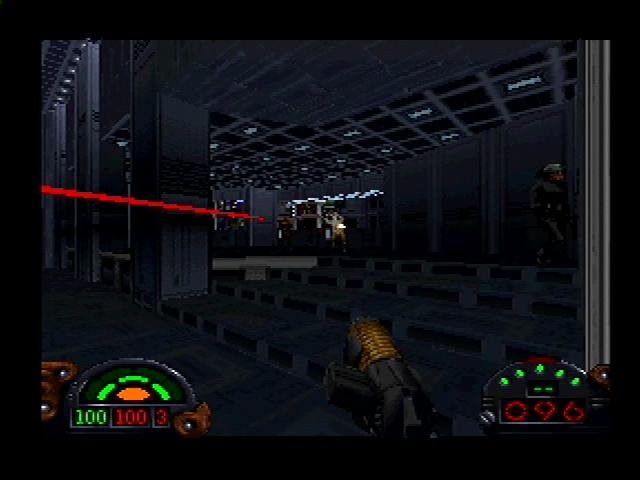
The Heads Up Display (or HUD) shows certain vital information you will want to constantly monitor.
HUD Elements
•
The two, green arcs on the left side show your shield status with corresponding numerical measurement below in green.
•
The red, oval monitors your vital signs to give an overall health reading, also with a corresponding numerical value below in red.
•
The red number to the right represents your "lives." (You can get more!).
•
Headlight on/off Indicator
Each mission has several invisible check points that are automatically logged when passed so that when you die, you will continue where you left off. If you have lost all your lives, you must replay the mission from the beginning.
The right side of the HUD displays your battery power/weapons status. The red light at the top is on when your head lamp is on. The green dots across the top are the battery power indicator.
The large, red number displays either your power units (the equivalent of ammunition) for pistol/rifle type weapons, or the number of actual units in the case of grenades or mines (timed floor explosives). Certain accessories (such as light goggles) will cause a drain on your battery power, so use them sparingly.
The smaller green number represents the number of rockets for your rocket launcher, and only appears when you use this weapon.
.png)


.png)
_1.png)
.png)
_1.jpg)
 (Disc 2).png)

 (v1.0).png)


 (Disc 2).png)





.png)