GETTING STARTED
Set up your PlayStation® game console according to its Instruction Manual. Make sure the power is off before inserting or removing a compact disc. Insert the VANDAL-HEARTS® II disc and close the disc cover. Insert a game controller and turn on the PlayStation game console. Follow on-screen instructions to start a game. Memory Cards
To save game settings and progress, insert a Memory Card into Memory Card slot 1 or slot 2 of the PlayStation game console before starting play. You can load your saved games from the same card, or from any Memory Card containing previously saved VANDAL-HEARTS® II games. PlayStation Console Components
•
MEMORY CARD SLOTS (ABOVE CONTROLLER PORTS)
GAME FLOW
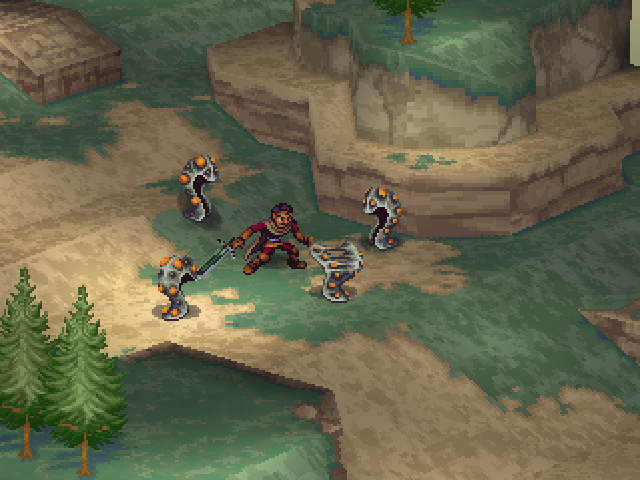
The player advances through the game by basically repeating three modes: World Map, City & Village, and Battle Map. Event Sequences are frequently inserted according to the progress of the game.
The World Map
•
Move across the Rognant Continent by following access points.
•
Exchange in weapon skills.
City
•
Gather information at the tavern.
Battle
•
There are points in the story at which battles must be fought.
•
It is possible to voluntarily enter cleared battle maps in order to search for items or to increase your character's experience points.
Event Sequences
•
These are frequently inserted according to the progress of the game.
STARTING THE GAME
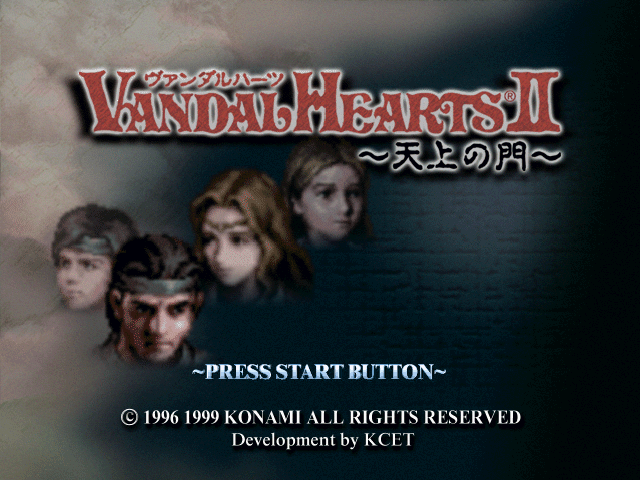
The Title screen is displayed after the Konami logo screen. Press the Start button to bring up the Main Menu.
•
New Game: Start a new game from the beginning.
•
Continue: Continue from a previously saved game.
•
Option: Adjust various game settings.
Note: It is also possible to enter the Option mode from the World Map by pressing the X button.
SAVING AND LOADING
Insert a Memory Card into either Memory Card Slot 1 or 2 on your PlayStation game console. Open MAIN COMMAND in the World Map and select RECORDS. •
Save: The Memory Card requires two blocks for a single saved game. A single Memory Card can save seven game positions.
•
Load: Continue the game from a previously saved position. Saved games can be opened from both the Main Menu and the World Map. The Load screen is also displayed at the time of Game Over.
Warning: Ending the Game
The correct procedure when ending the game is to open the disc cover, wait for the disc to stop moving, and then turn OFF the power. The disc will continue to turn if the power is switched OFF first, and may become scratched during removal.
World Map Commands
Press the Start button while in the World Map to display the main commands.
•
Transfer: Take the skill in a particular weapon and exchange it with or transfer it to another weapon.
•
Status: Check the detailed status of a unit.
•
Warehouse: Check possessions.
•
Story Digest: Review previous events and gain clues on where to go next.
•
Save: Save and load games.
•
Options: Change game configurations.
CITY COMMANDS
•
Move To: Move through the city.
•
Transfer: Take the skill in a particular weapon and exchange it with or transfer it to another weapon.
•
Status: Check the detailed status of a unit.
•
Warehouse: Check possessions.
About the City
In the city the player can engage in activities such as buying and selling items in the shop, and gathering information in the tavern.
•
Shop: Sell weapons, body armor and items. Since the range of merchandise increases as the game progresses, it is a good idea to stop by from time to time. •
Tavern: Listen to the townspeople's conversations. You may come across some valuable information!
WEAPON CUSTOMIZATION (EXCHANGING TECHNIQUES)
Techniques internalized in a weapon can be transferred to or exchanged with other weapons. Technique exchanges can be made at any time from the World Map or the City screen. The player can create an original weapon according to taste by combining favorite techniques. There is a limit to the number of techniques that can be set into a given weapon, and no more than the specified number of techniques can be set. This limit varies from weapon to weapon.
Weapons Owned
Select the unit to provide the transfer, then select a unit to transfer techniques to. A list of skills currently possessed by both unit's weapons are displayed; target the desired technique with the cursor and perform the exchange. Depending on the type or class of the weapons, an exchange may not be possible. In such cases, an X mark indicated in red will be displayed. BATTLE SYSTEMS
Battle Basics
Once the player enters the Battle Map, conditions for victory and defeat are displayed. The stage is cleared if the victory condition for that map is met, and the game is over if the defeat condition for that map is met.
The default placement positions for the units may be modified at the start of the battle. Changes can be made within the specified range. Select a unit with the button,


_1.png)