GETTING STARTED
1. Set up your PlayStation®2 computer entertainment system according to the instructions supplied with your system.
2. Check that the system is turned on (the on/standby indicator is green).
3. Insert the Rock Band 2 disc in the system with the label side facing up. 4. Attach game controllers and other peripherals as appropriate.
5. Follow the on-screen instructions and refer to this manual for information on using the software.
NOTE
When using the multitap (for PlayStation®2), a controller must be connected to controller port 1-A.
•
multitap connector (for PlayStation®2)
DRUMS
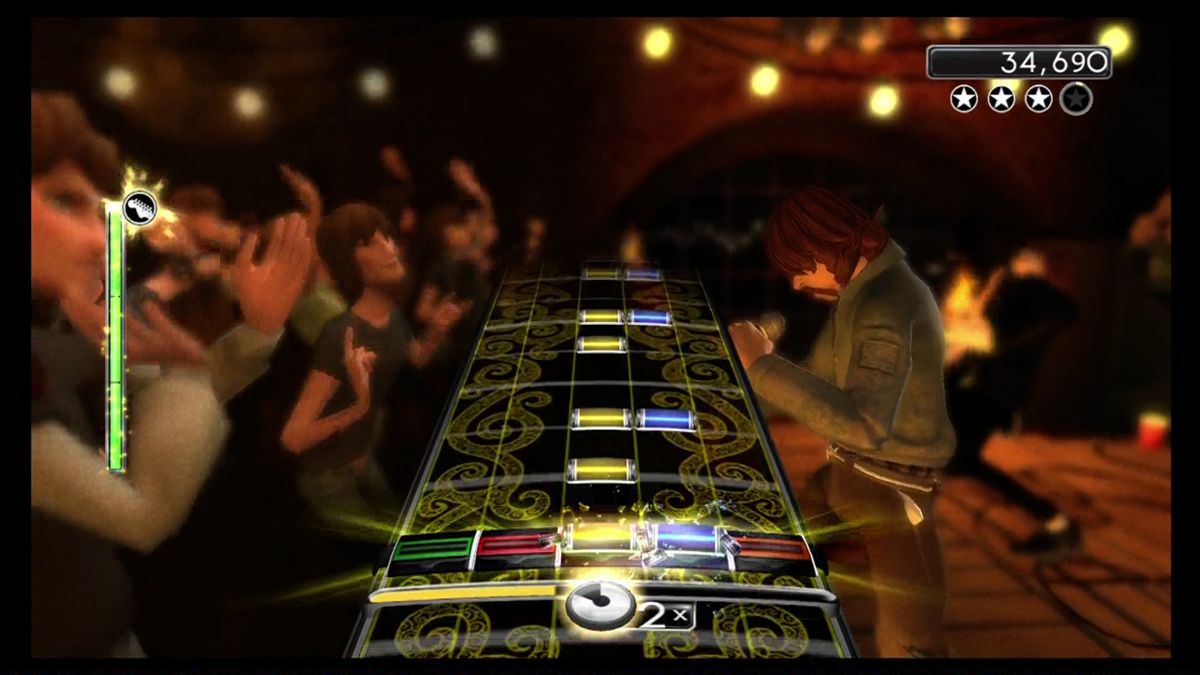
To play the drums, use your drumsticks to hit the pads that match the rhythm notes as they cross the target at the bottom of the track. Press your foot down on the kick pedal when you see wide, orange notes cross the target at the bottom of the track. •
Yellow pad (tap to navigate lists, just like pressing the Directional button ↑)
•
Red pad (tap to cancel selections, just like pressing the ◉ button)
•
Blue pad (tap to navigate lists, just like pressing the Directional button ↓)
•
Green pad (tap to confirm selections, just like pressing the ✖ button)
•
Kick pedal (step on the pedal for screen-specific functions, just like pressing the R1 button)
IMPORTANT NOTE
If you run out of USB ports while connecting Rock Band® USB-compatible peripherals, you can use almost any USB hub for additional ports. OPTIONS
To adjust options, select OPTIONS from the main menu.
•
Select AUDIO SETTINGS to adjust various audio options, including toggling Dolby Pro Logic 2 on or off.
•
Select MANAGE DATA to rename or delete Band Data or save and load games.
•
To make sure that your system's timing is perfect, calibrate your system by selecting CALIBRATION SETTINGS. For more information, see below.
TV CALIBRATION
Even the most novice musician should be able to pick up and play Rock Band 2 right out of the box. In some cases, however, particularly with HDTV systems, the audio and video may play at different times, making it difficult to play the right note at the right time. If you are ready to blame your TV for your less-than-stellar musicianship, try calibrating your system. To calibrate your system, select CALIBRATION SETTINGS from the Options menu. If you have a Rock Band 2 wireless Fender Stratocaster Guitar Controller, select CALIBRATE AUTOMATICALLY. If you don't, or if you would prefer to calibrate manually, select CALIBRATE MANUALLY. AUTO CALIBRATION
1. To calibrate your system's audio timing, when you are prompted, hold your Rock Band 2 wireless Fender Stratocaster Guitar Controller up to your sound system speaker or your TV's speaker (wherever the sound is coming from) as close as possible without touching. The volume should be set to a comfortable listening volume. If you have trouble in a room with a surround system, turning the volume down sometimes helps. Hold your guitar controller there until prompted. 2. To calibrate your system's video timing, when you are prompted, hold your Rock Band 2 wireless Fender Stratocaster Guitar Controller up to the center of your TV screen, with the guitar controller facing the TV and as close to the TV as possible without touching. This tends to work best in darker rooms, so either turn the lights down or angle the guitar slightly downwards away from the light. Hold your guitar controller there until prompted. 3. You should now be ideally calibrated! Test out a song in Quickplay to make sure it feels right. If not, try auto-calibrating again, or try calibrating manually.
MANUAL CALIBRATION
1. Select OPTIONS from the main menu, then select CALIBRATION SETTINGS to proceed to Step 1: AUDIO CALIBRATION.
2. Each time you hear a drum beat, press the button/strum/hit the green pad in time with the beat you hear.
3. Proceed to Step 2: VIDEO CALIBRATION. When you see the needle hit either side of the meter, press the button/strum/hit the green pad in time with the needle.
4. Press the button. Your system is now calibrated. Test it out!
MANUALLY SET NUMBERS
If you can't get an ideal calibration using Manual Calibration, try setting your calibration numbers by hand. Select SET LAG MANUALLY from the Audio Calibration and Video Calibration screens. Once you've set numbers for Audio and Video Calibration, try testing your work in Quickplay or Practice mode to see if you've gotten the calibration right. If it's still not perfect, try calibrating again.
If after all that you're still having trouble or if you just want more information about calibration-please visit www.rockband.com.
LEARNING TO ROCK
Choose an instrument and learn how to use it!
TRAINING
You're
.png)




.png)


.png)



_1.png)